
Sharpening a clipper blade
A story in pictures of the basic process for sharpening an A5 clipper blade.

Gather all the tools needed
We have a tray of clipper blades
A blade scale, flat bladed screwdriver, a Philips screwdriver, a socket tool, a tool brush, a pair of water pump pliers
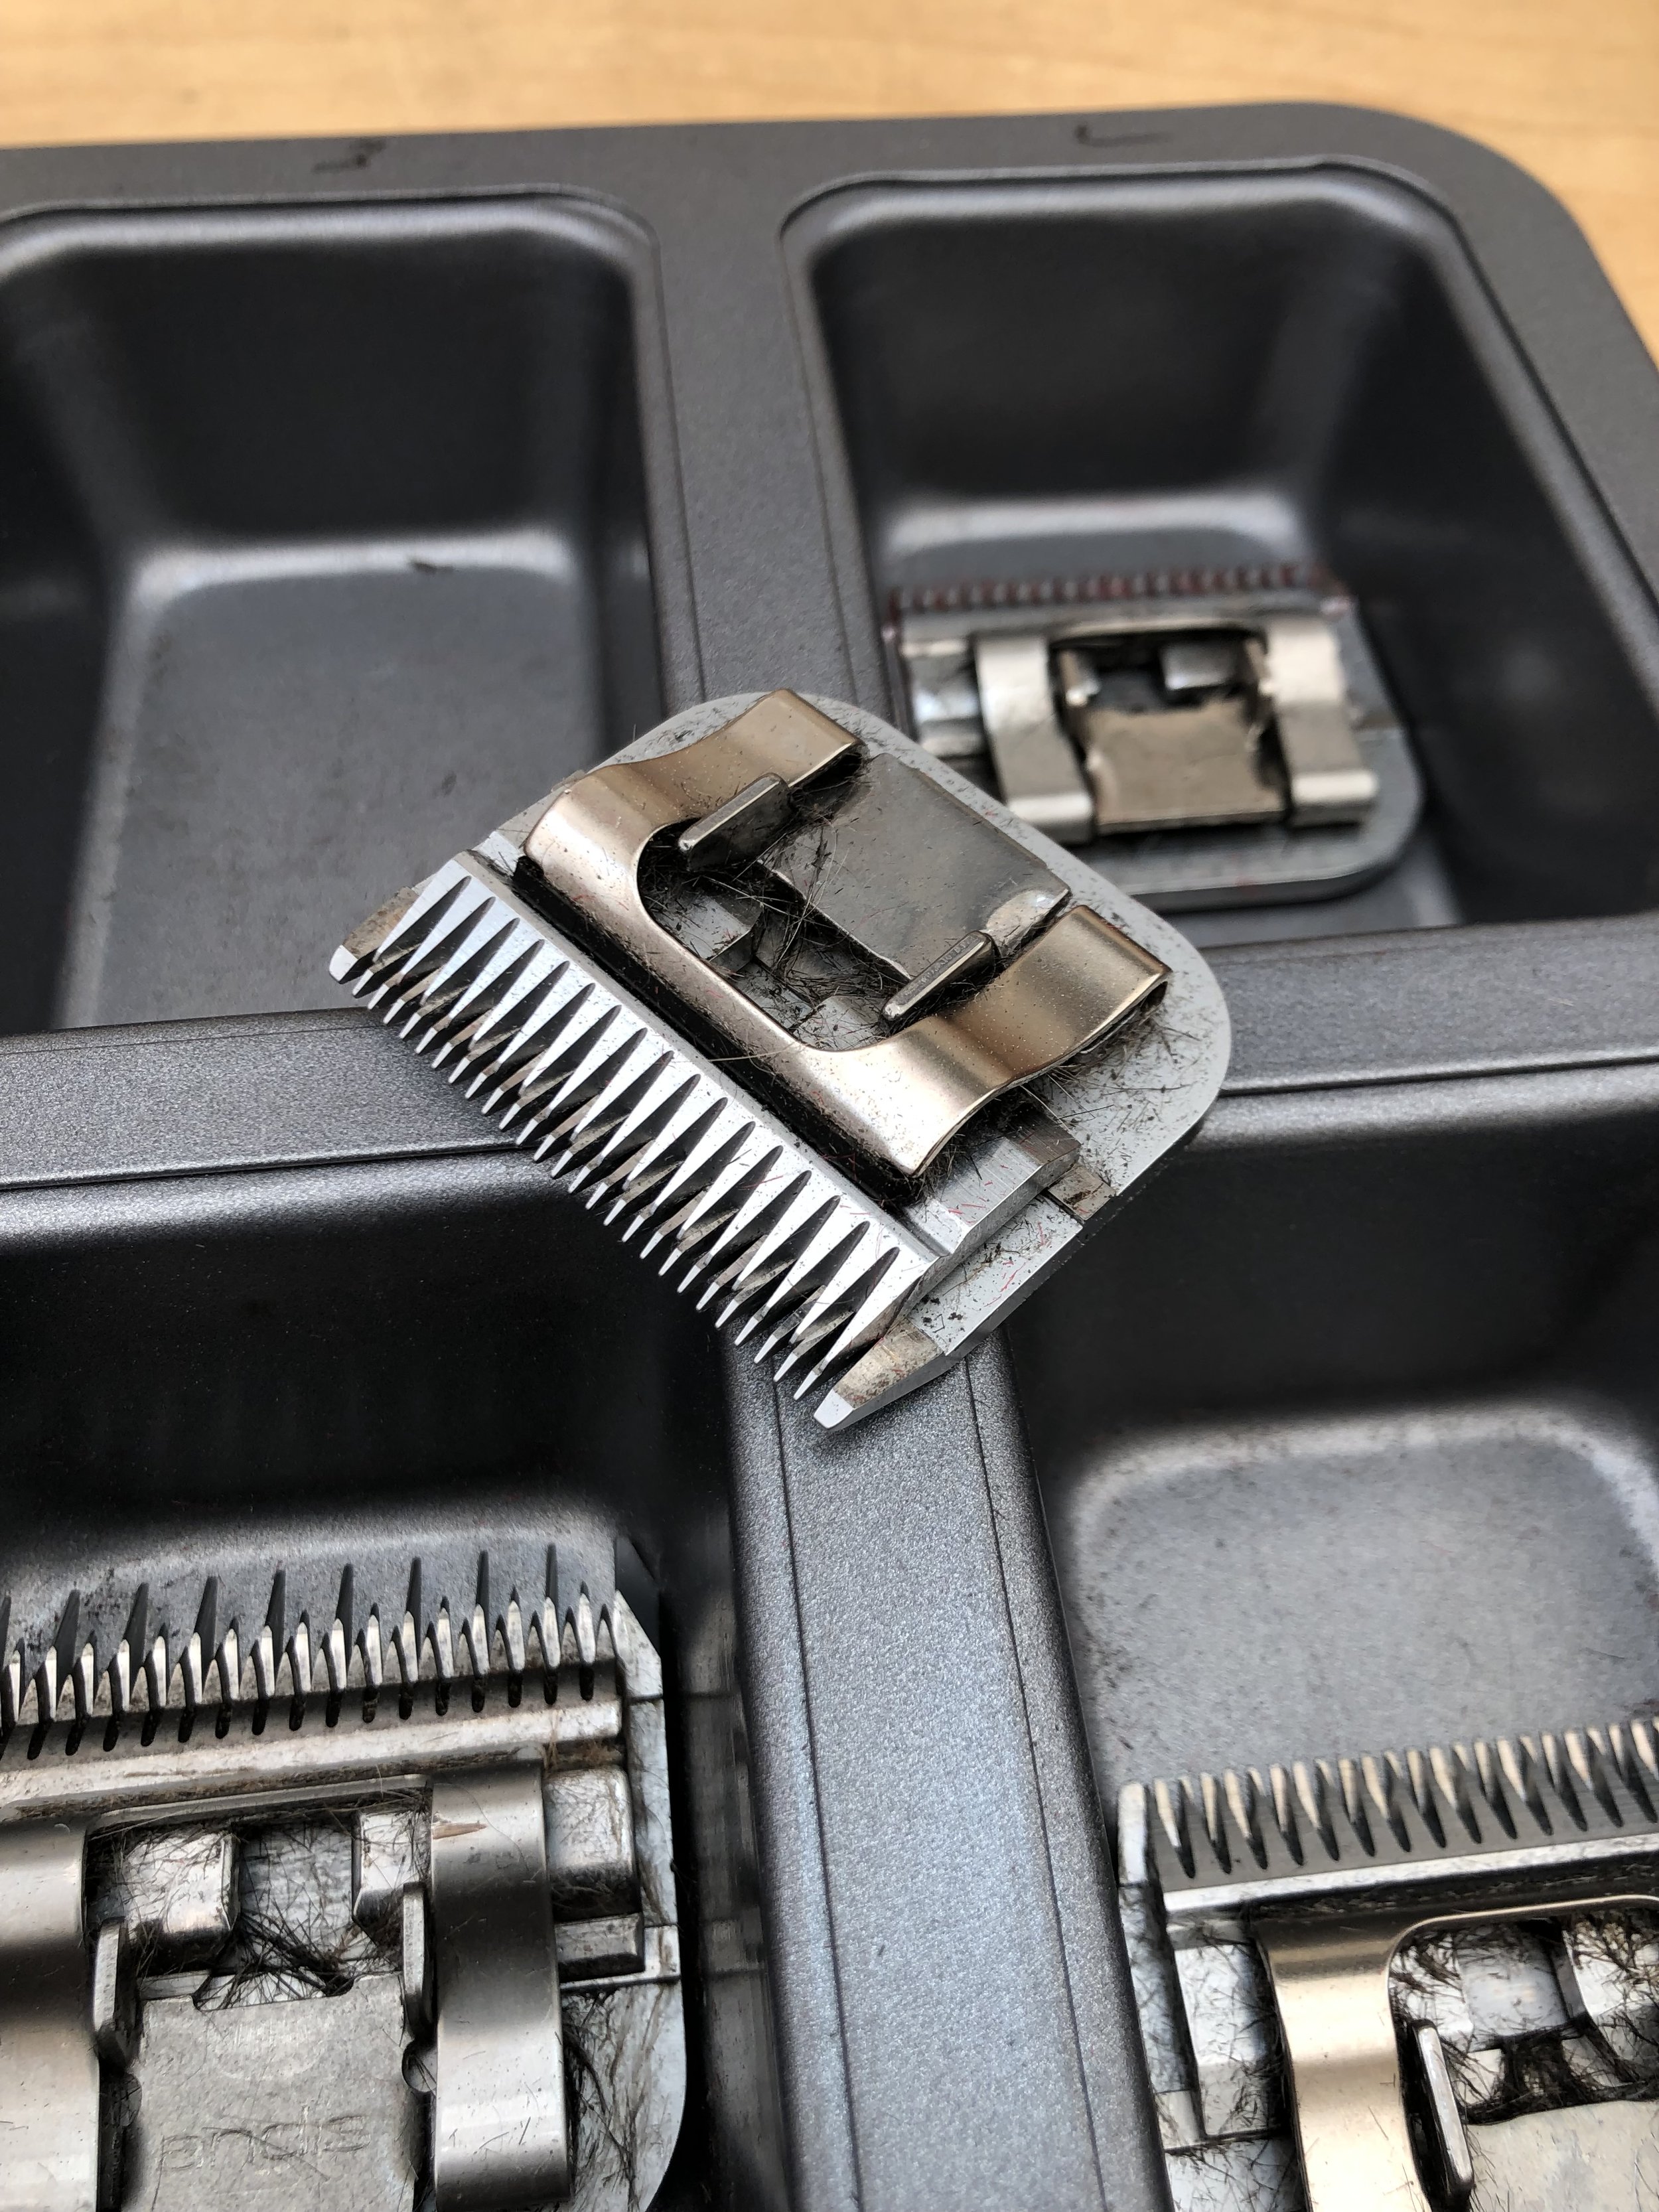
Inspect the blade
Quick look to see if anything is obvious
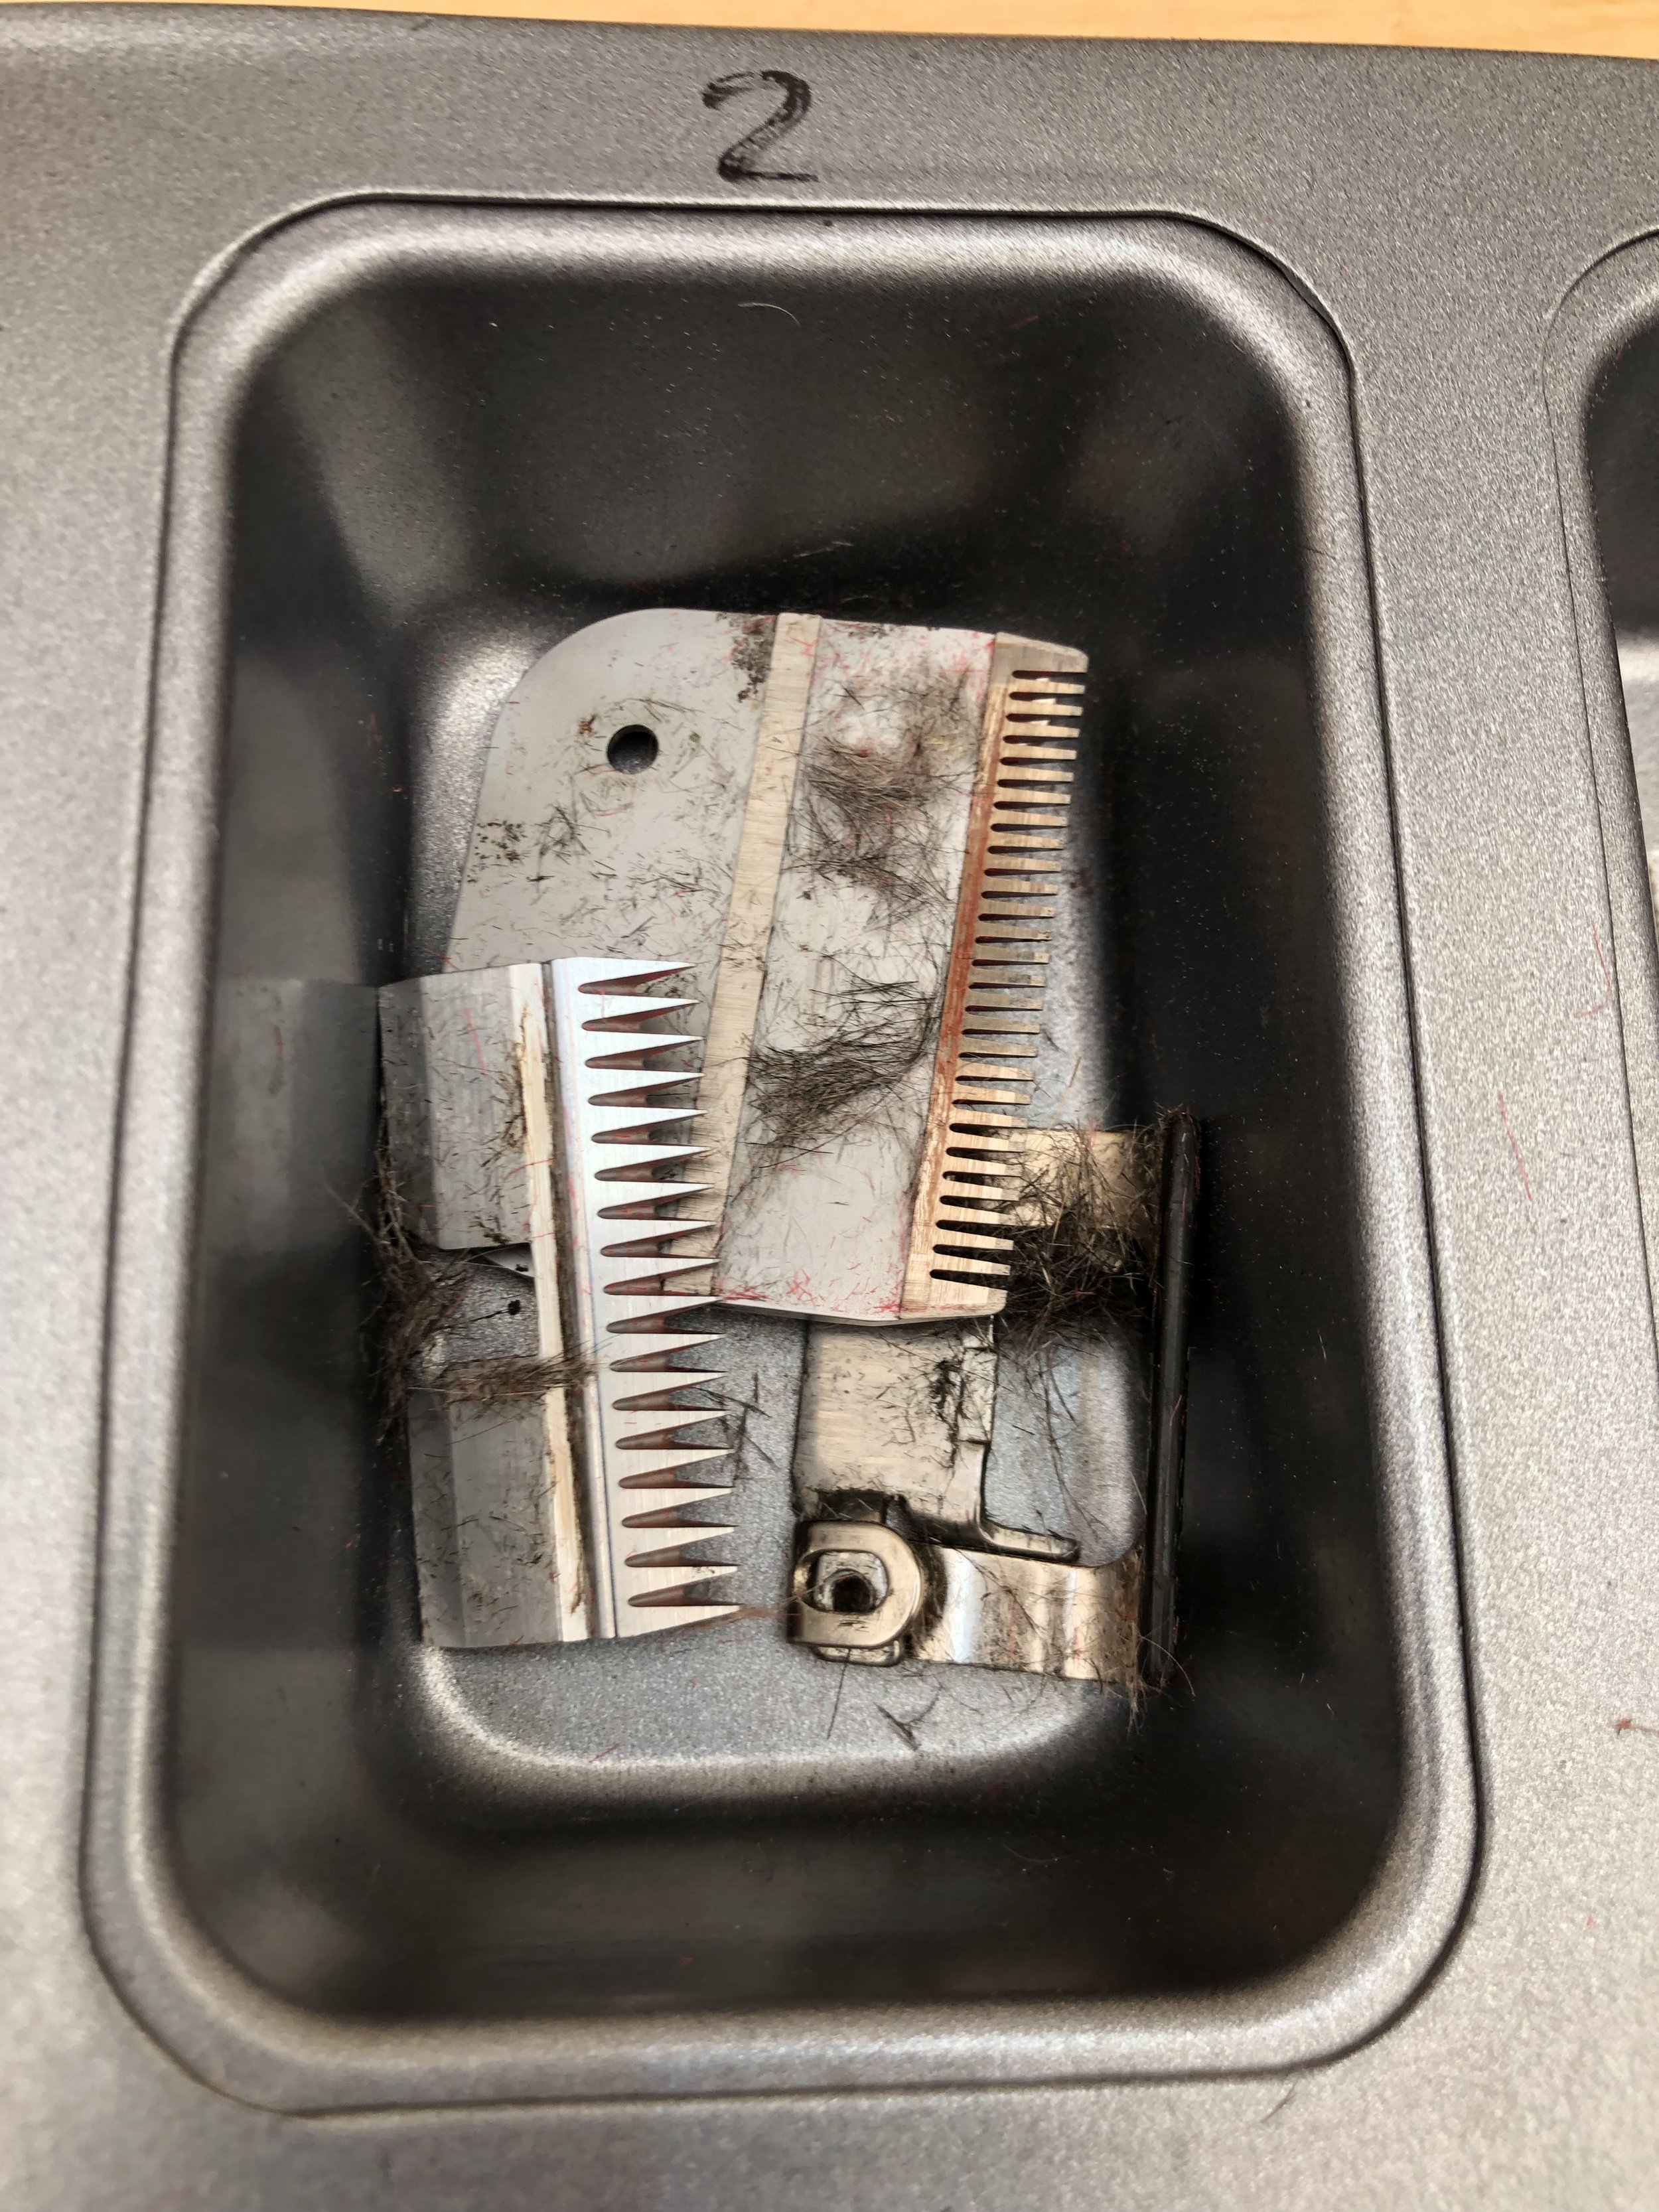
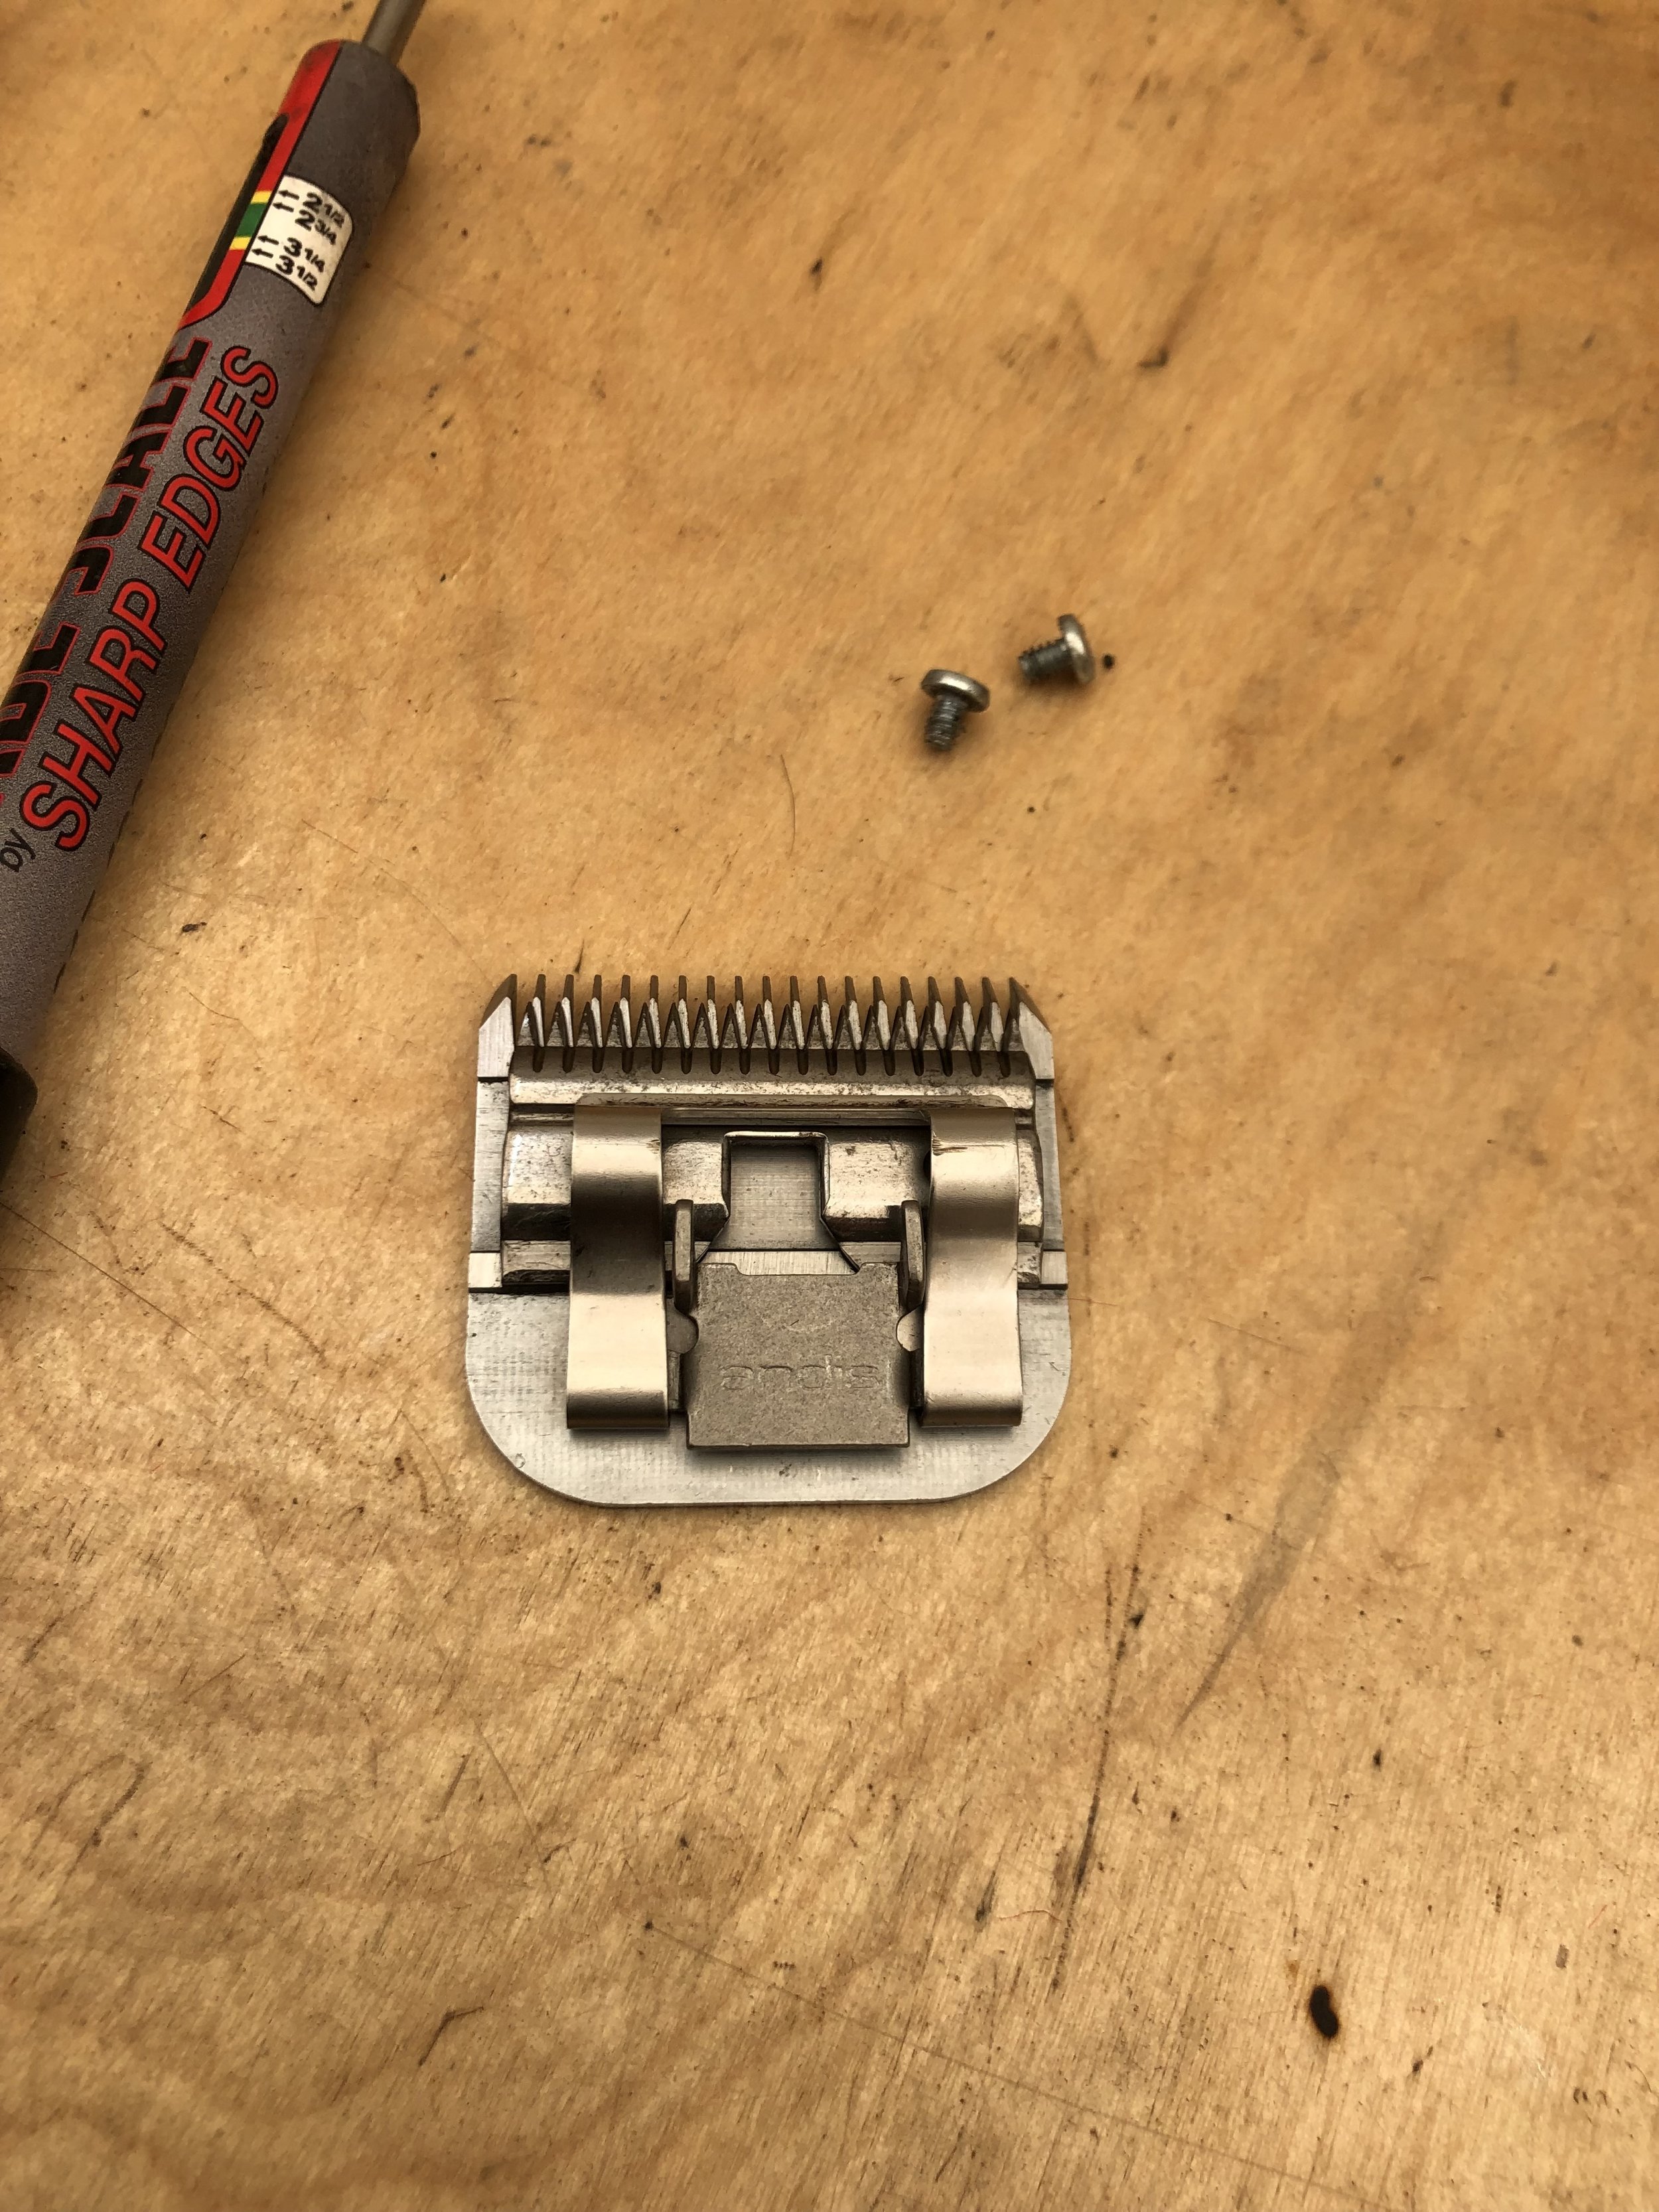
Strip the blades
Give them another quick inspection
Mmmm someone hasn’t been cleaning their blades

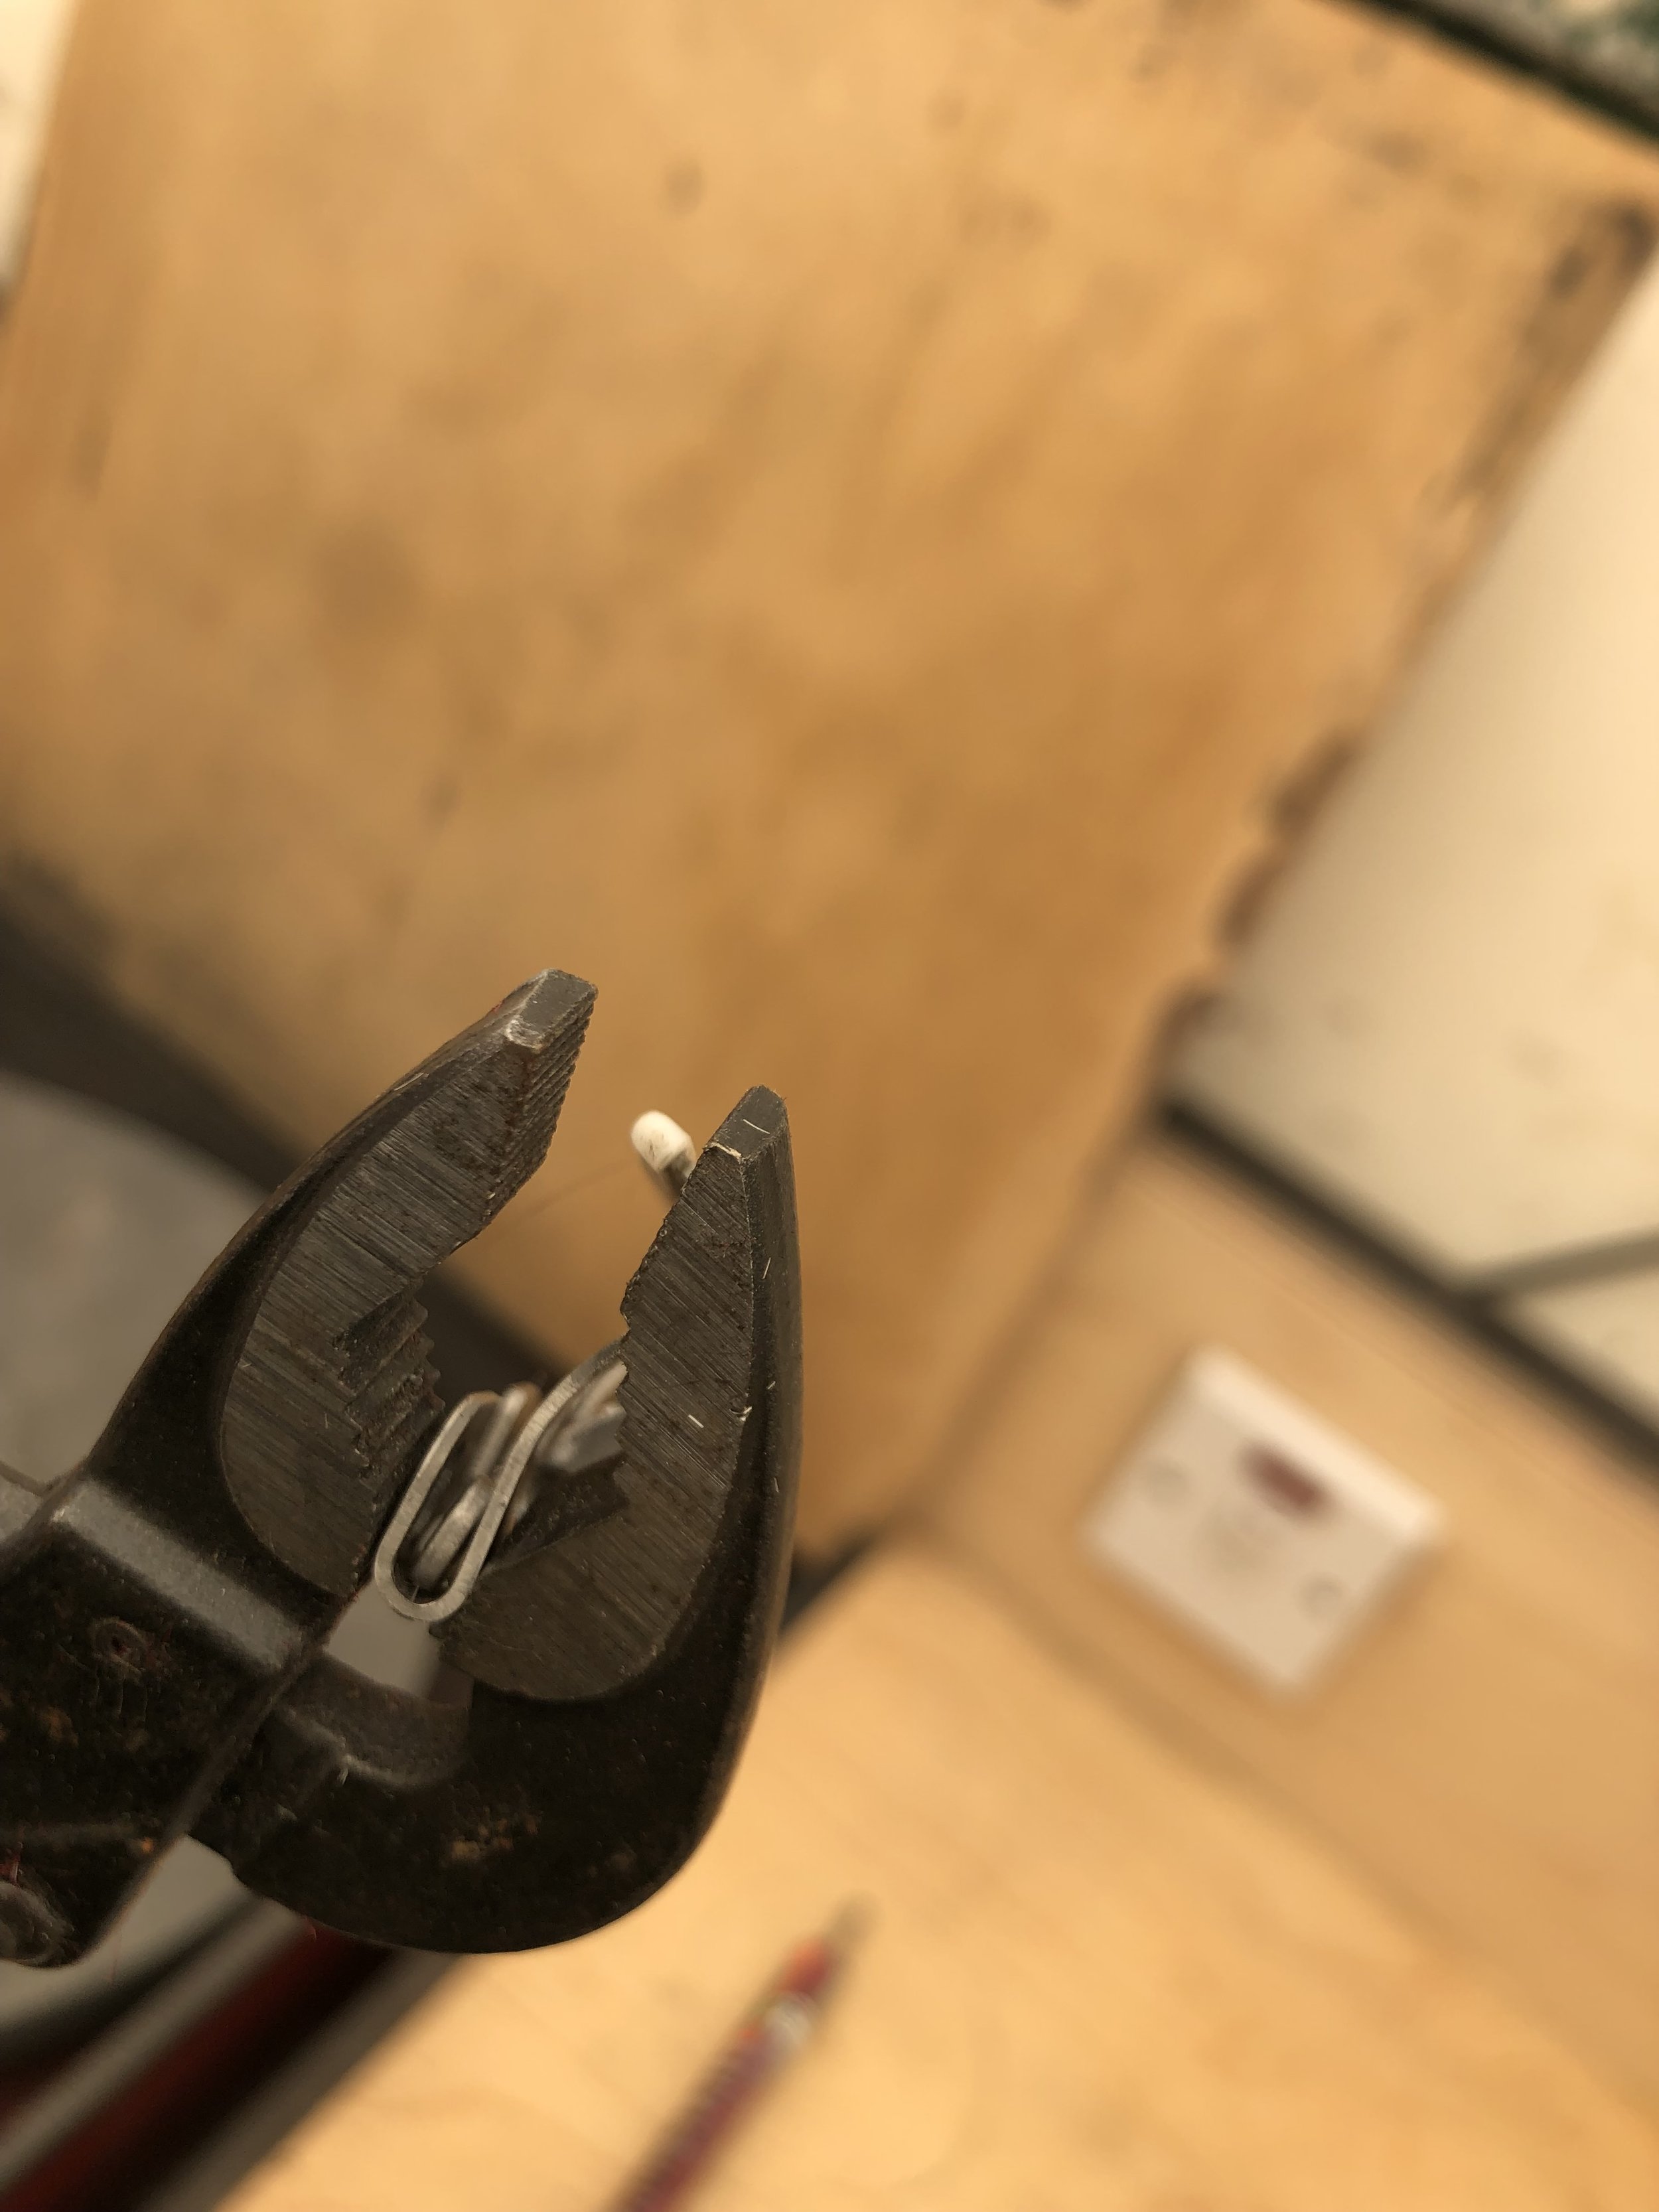
Socket and spring
Pull the spring and the blade socket out of the pile and give them a quick clean

Set the socket
Using the socket setting tool place the blade socket over it and squeeze the ears so they are back to the width they should be.
The ears tend to widen with use which makes the blades loose and rattling on the clipper

Side note!
Not part of the repair sharpening process but this is how the socket sit on your clippers
back to the process
Increase the tension
Put the socket back in the tension spring
Then squeeze the base down so you will have too much tension when assembling the blade

Stick to the magnet
A small horseshoe magnet is attached to the back of the comb so it can be used as a handle

Zero the gauge
The blade is put on a DTI stand which will measure material removed.
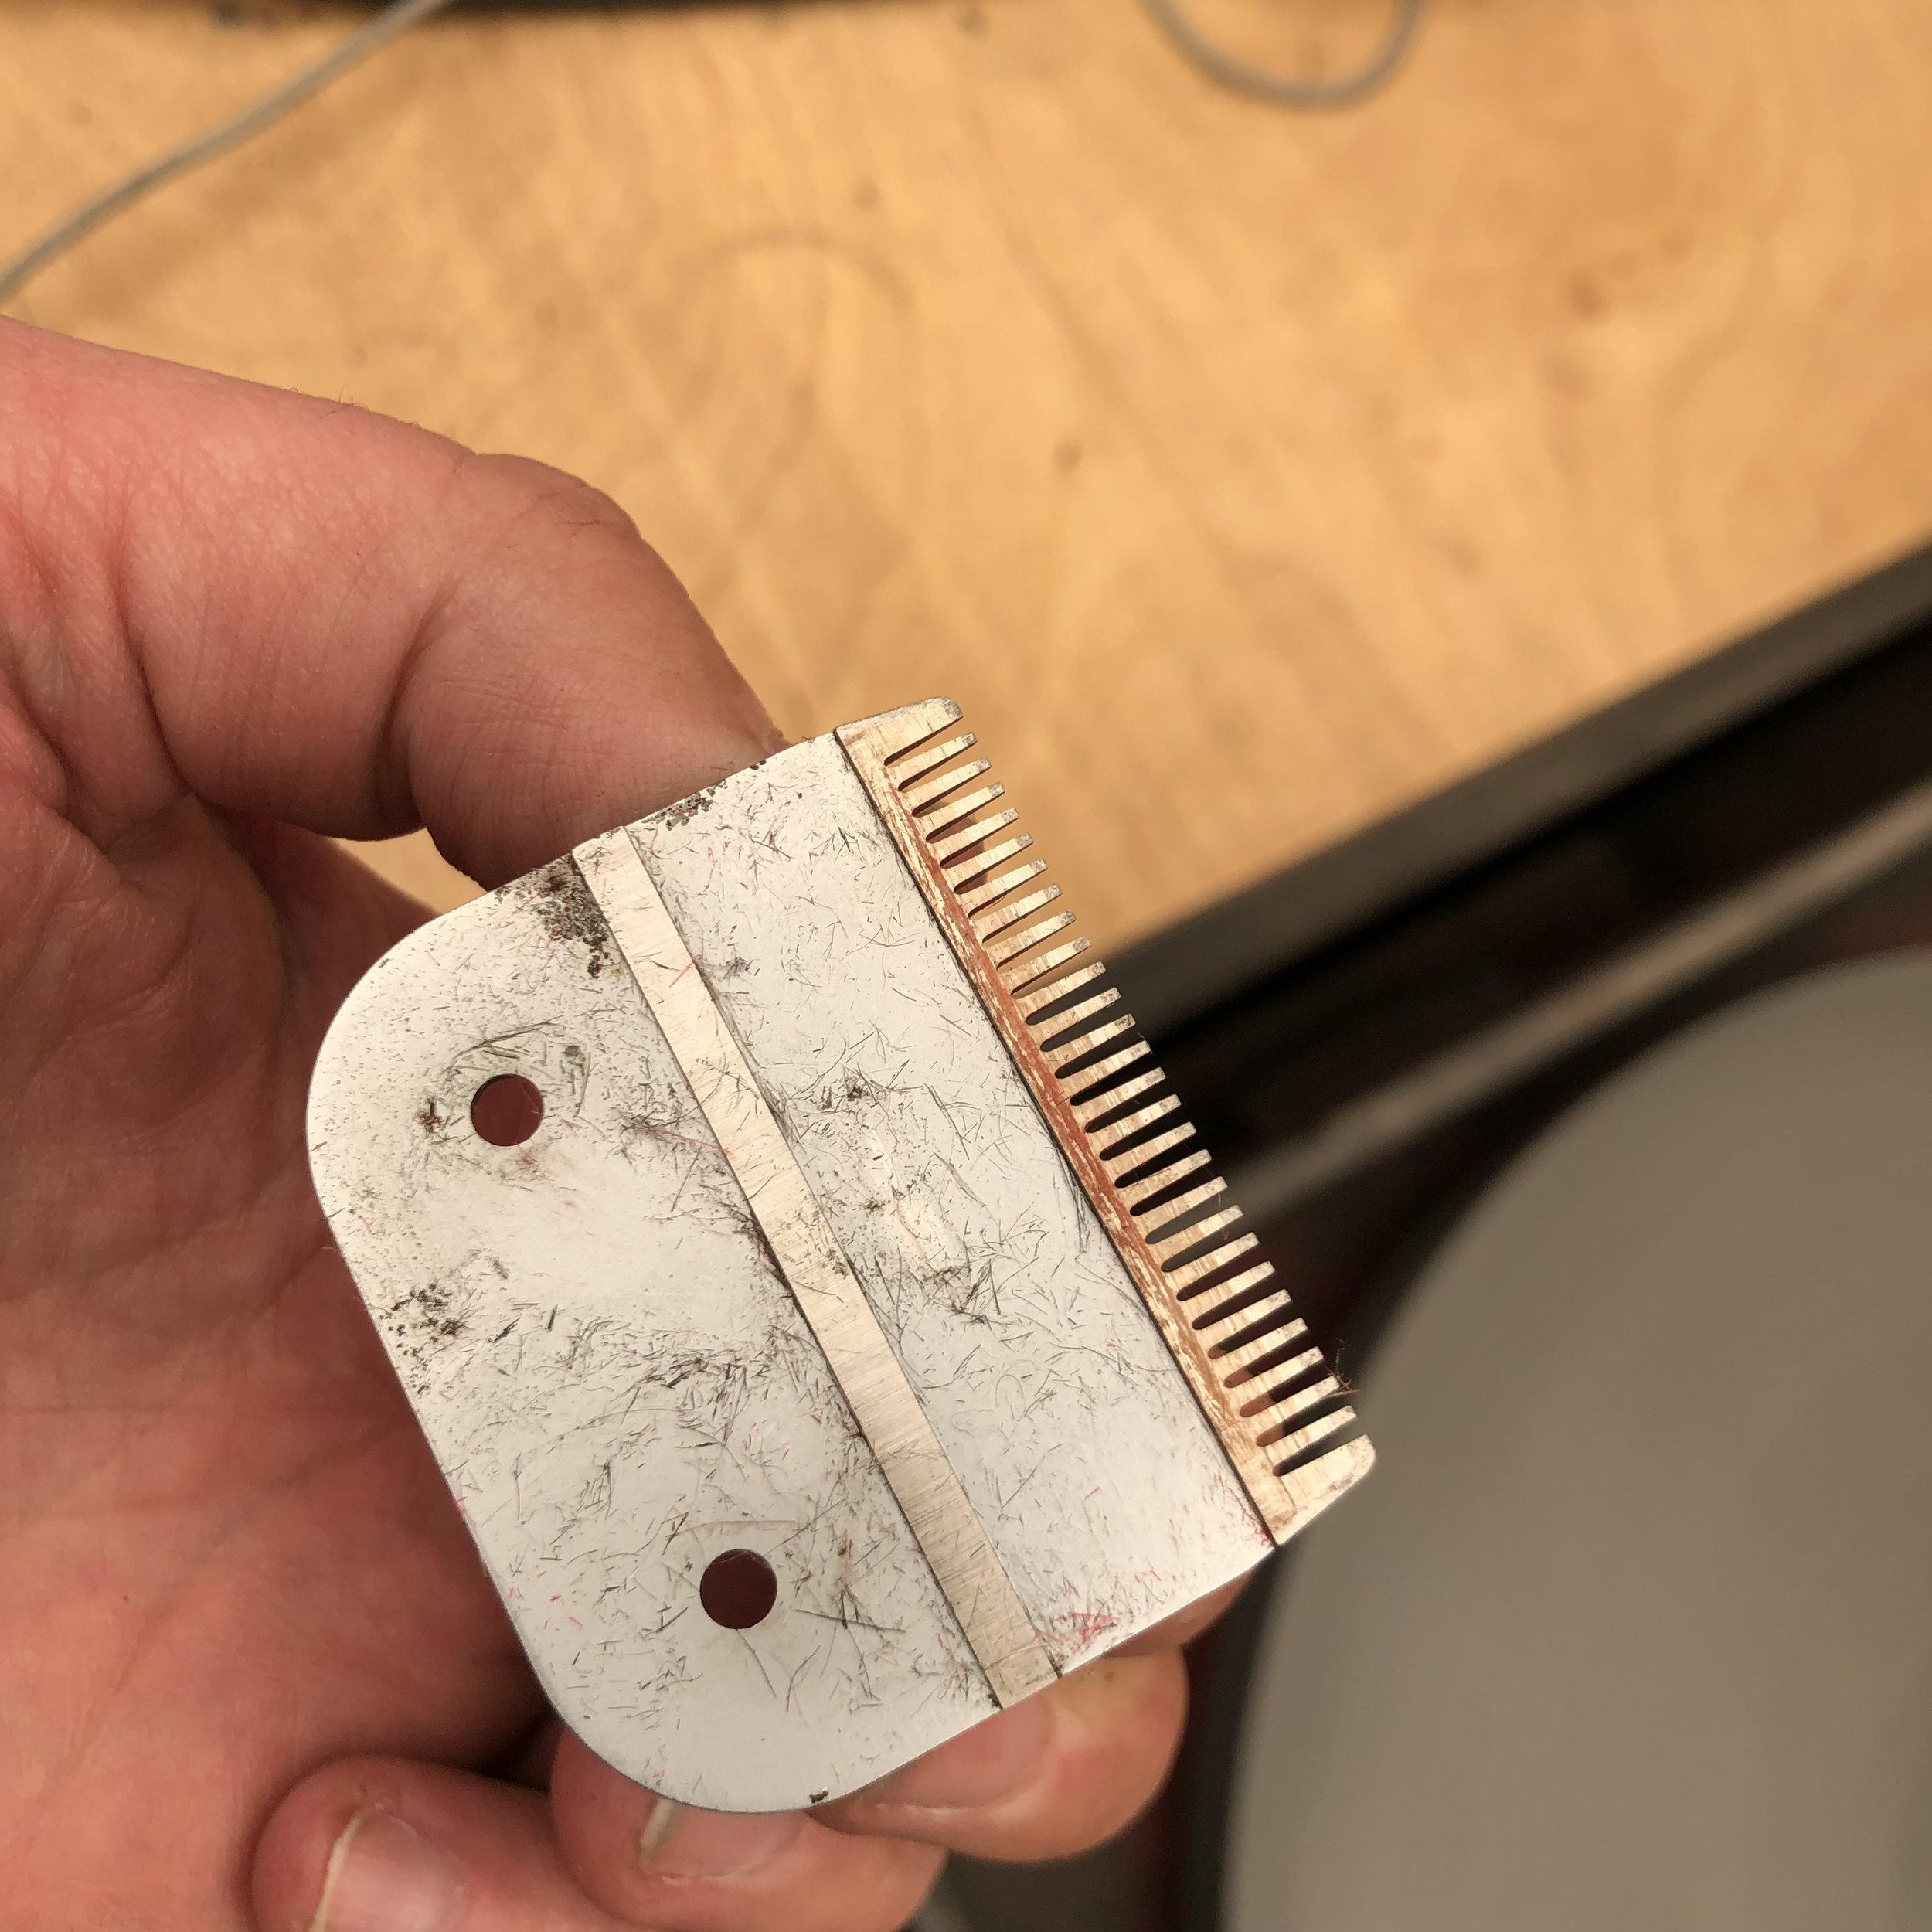
Another inspection
With the comb on it’s own this is an ideal time to check for damaged teeth
Actually I do this inspection afterwards as well but I forgot to take a picture
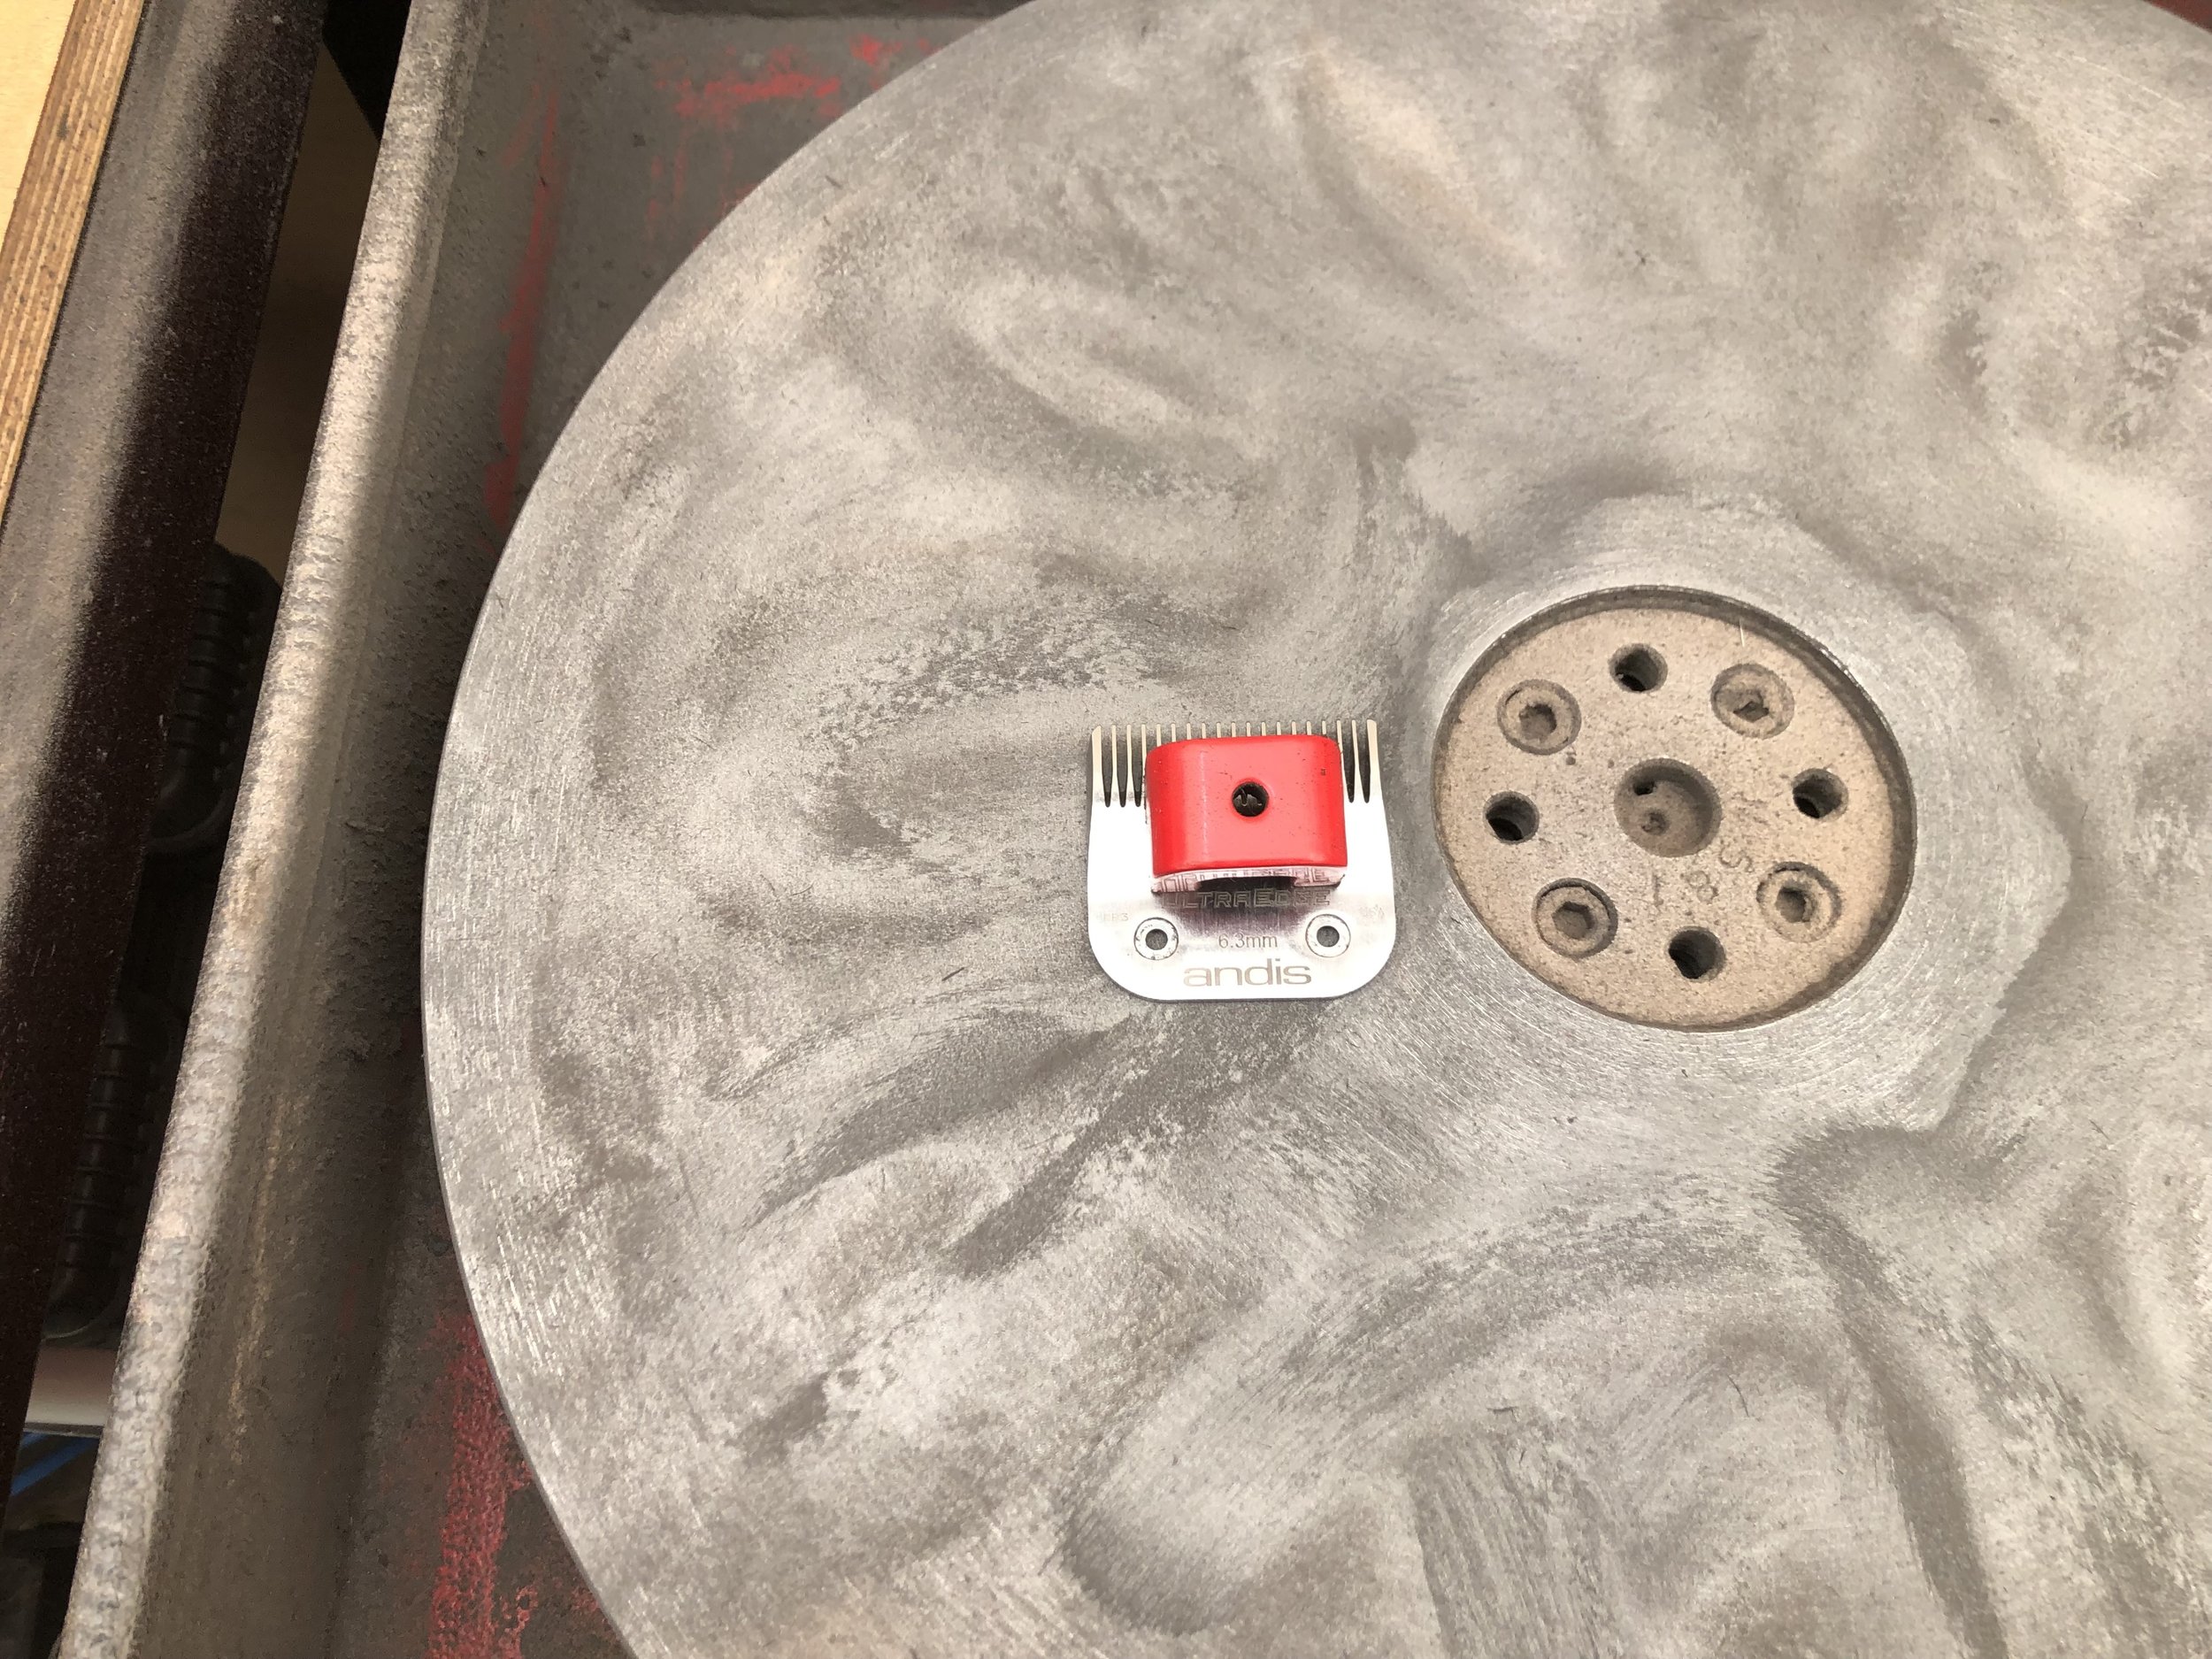
Grind the comb
Using the big red a hollow grind is put into the blade.
See the BIG RED page for more details on this step
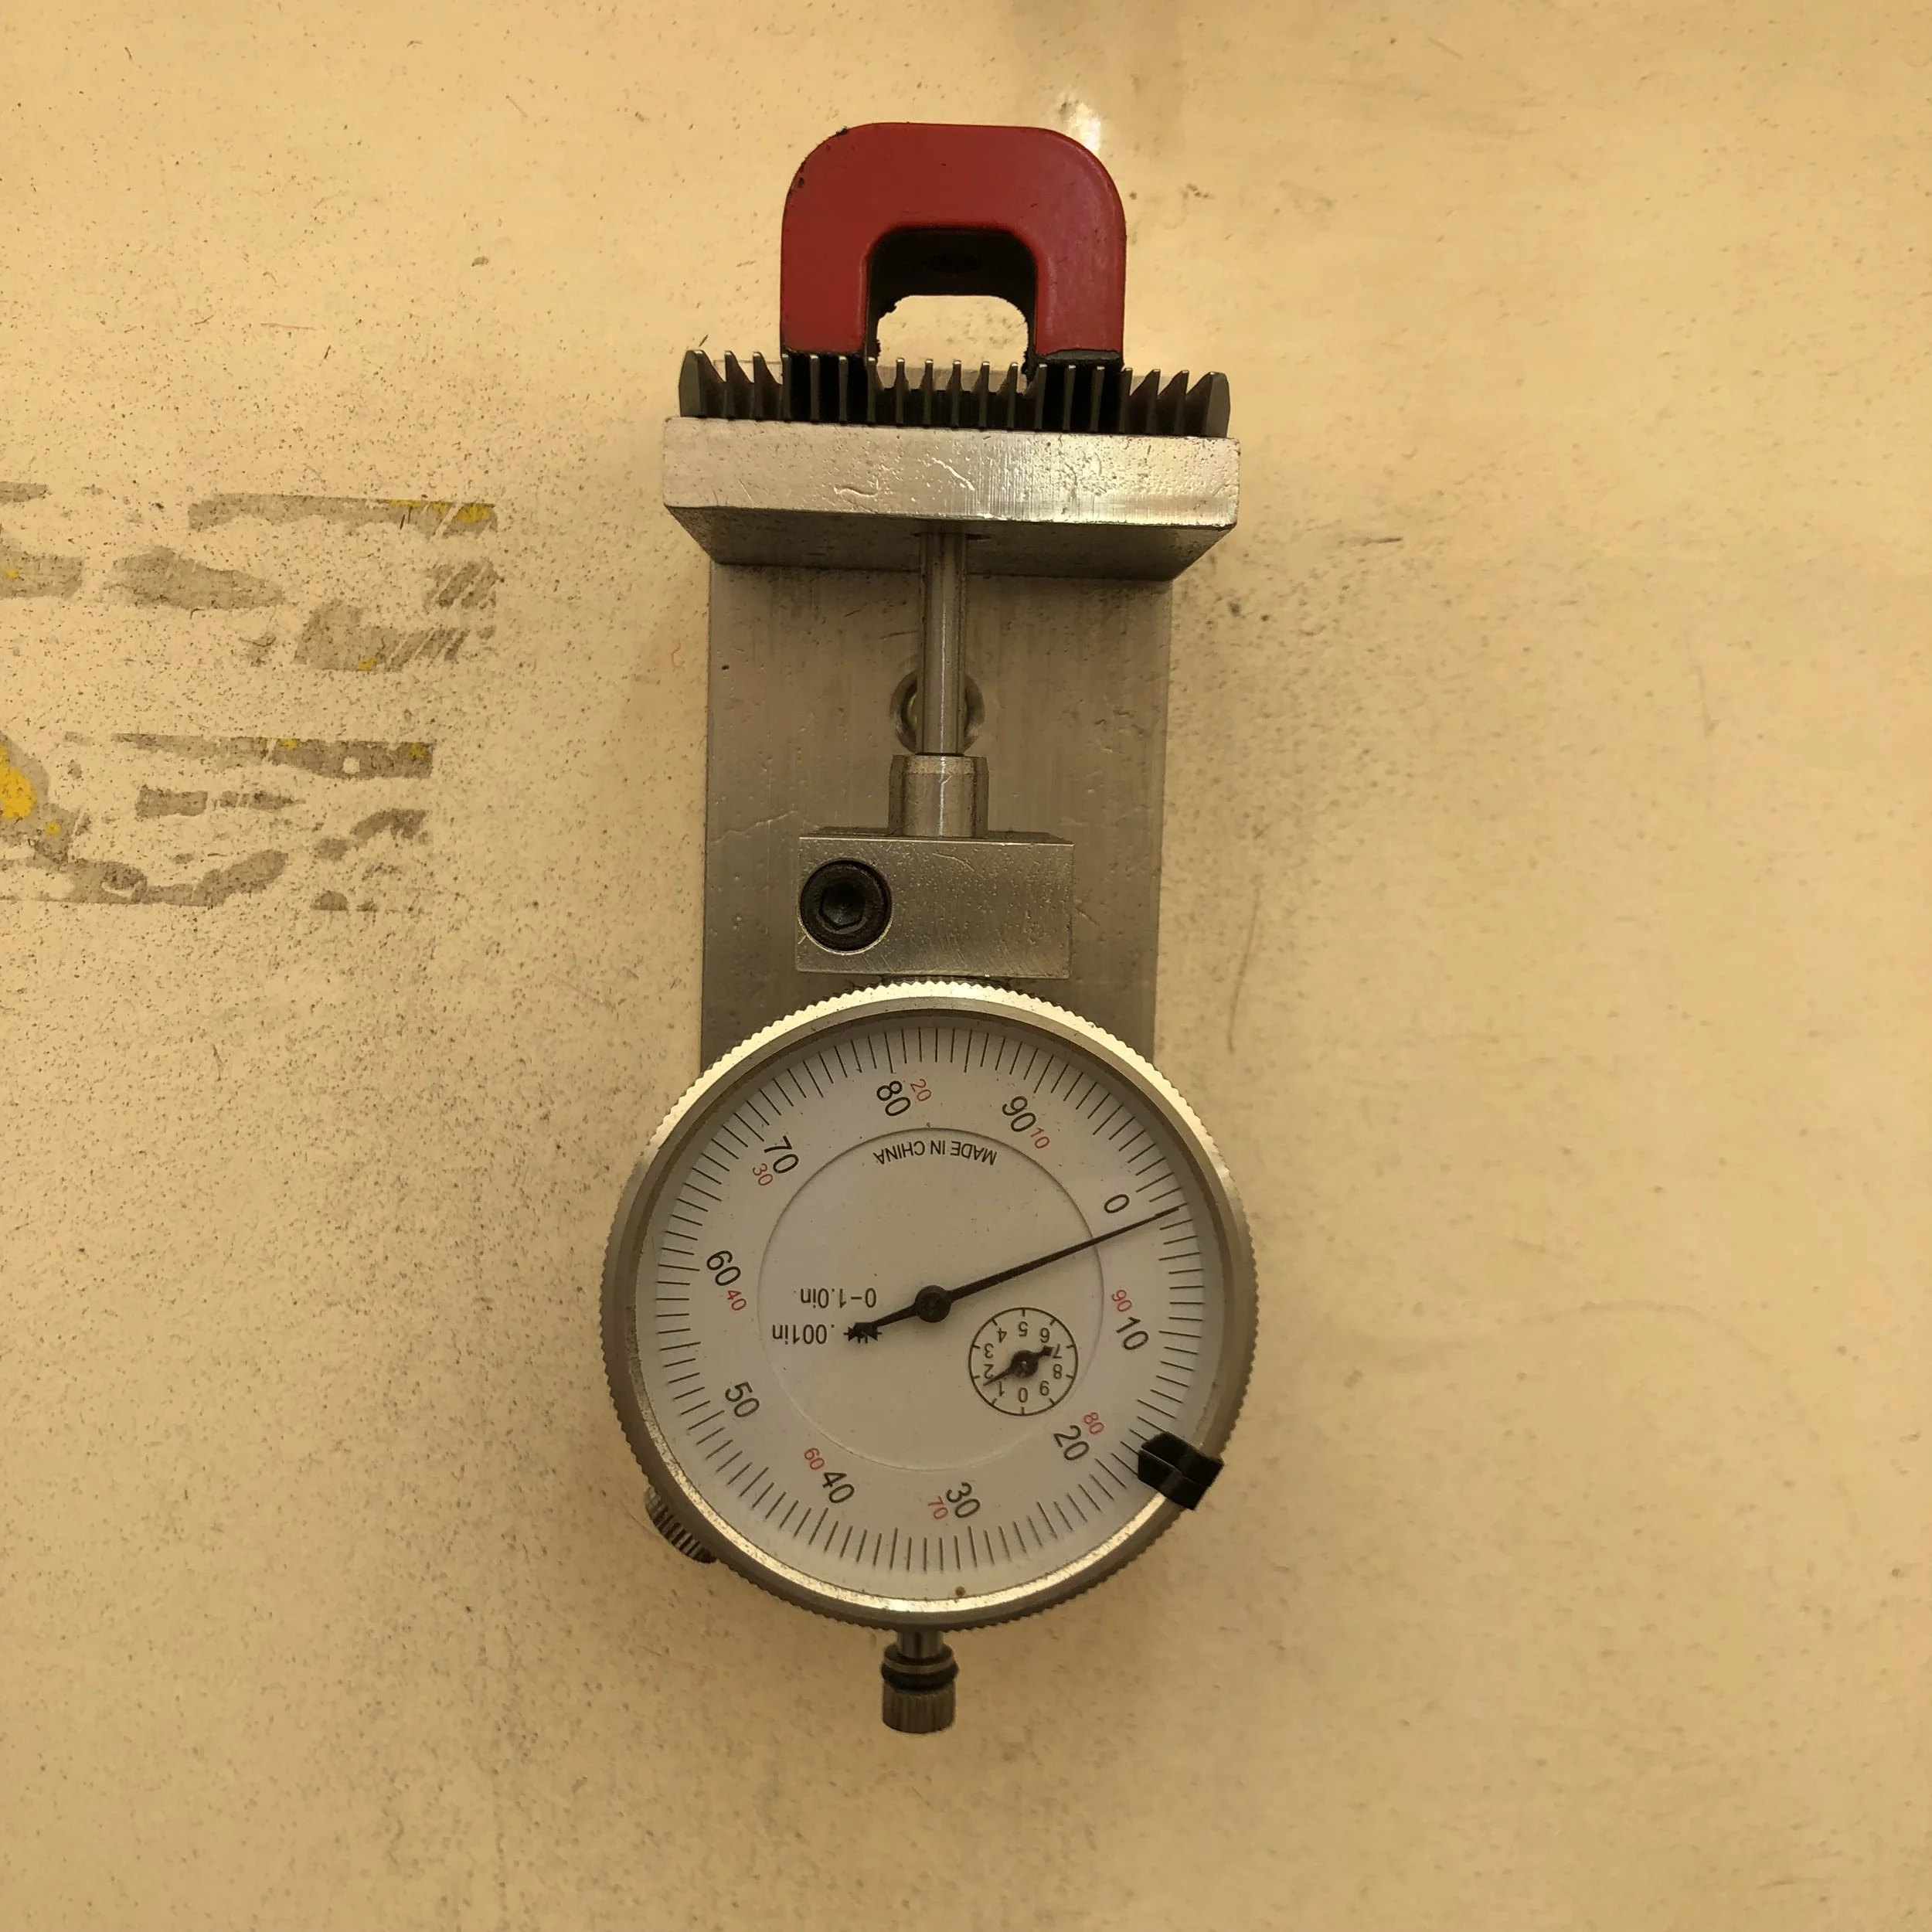
Measure the material removed
Back on the DTI and you are aiming for 2 thou to be removed
This isn’t done on every blade as I have a good feel for it so about half are measured to give a good sample

Grind the cutter
The cutter isn’t measured but it is sharpened the same way on the same machine
That brown stuff is a lack of oil and/or cleaning

Do the lot
Repeat the grinding for each blade pair.

Made a magnet
See how I attached a magnet to the comb and then warmed it up using the grinder.
It is a great way to make a magnet which can pick up screws and all sorts of bits of metal.

Demagnetiser
A tool which does what it says on the tin.
By stroking the cutter and comb across this it is demagnetised.
Some people do this at the end for the completed blade but I think now is a better time as it stops the blade parts from picking up metal dust
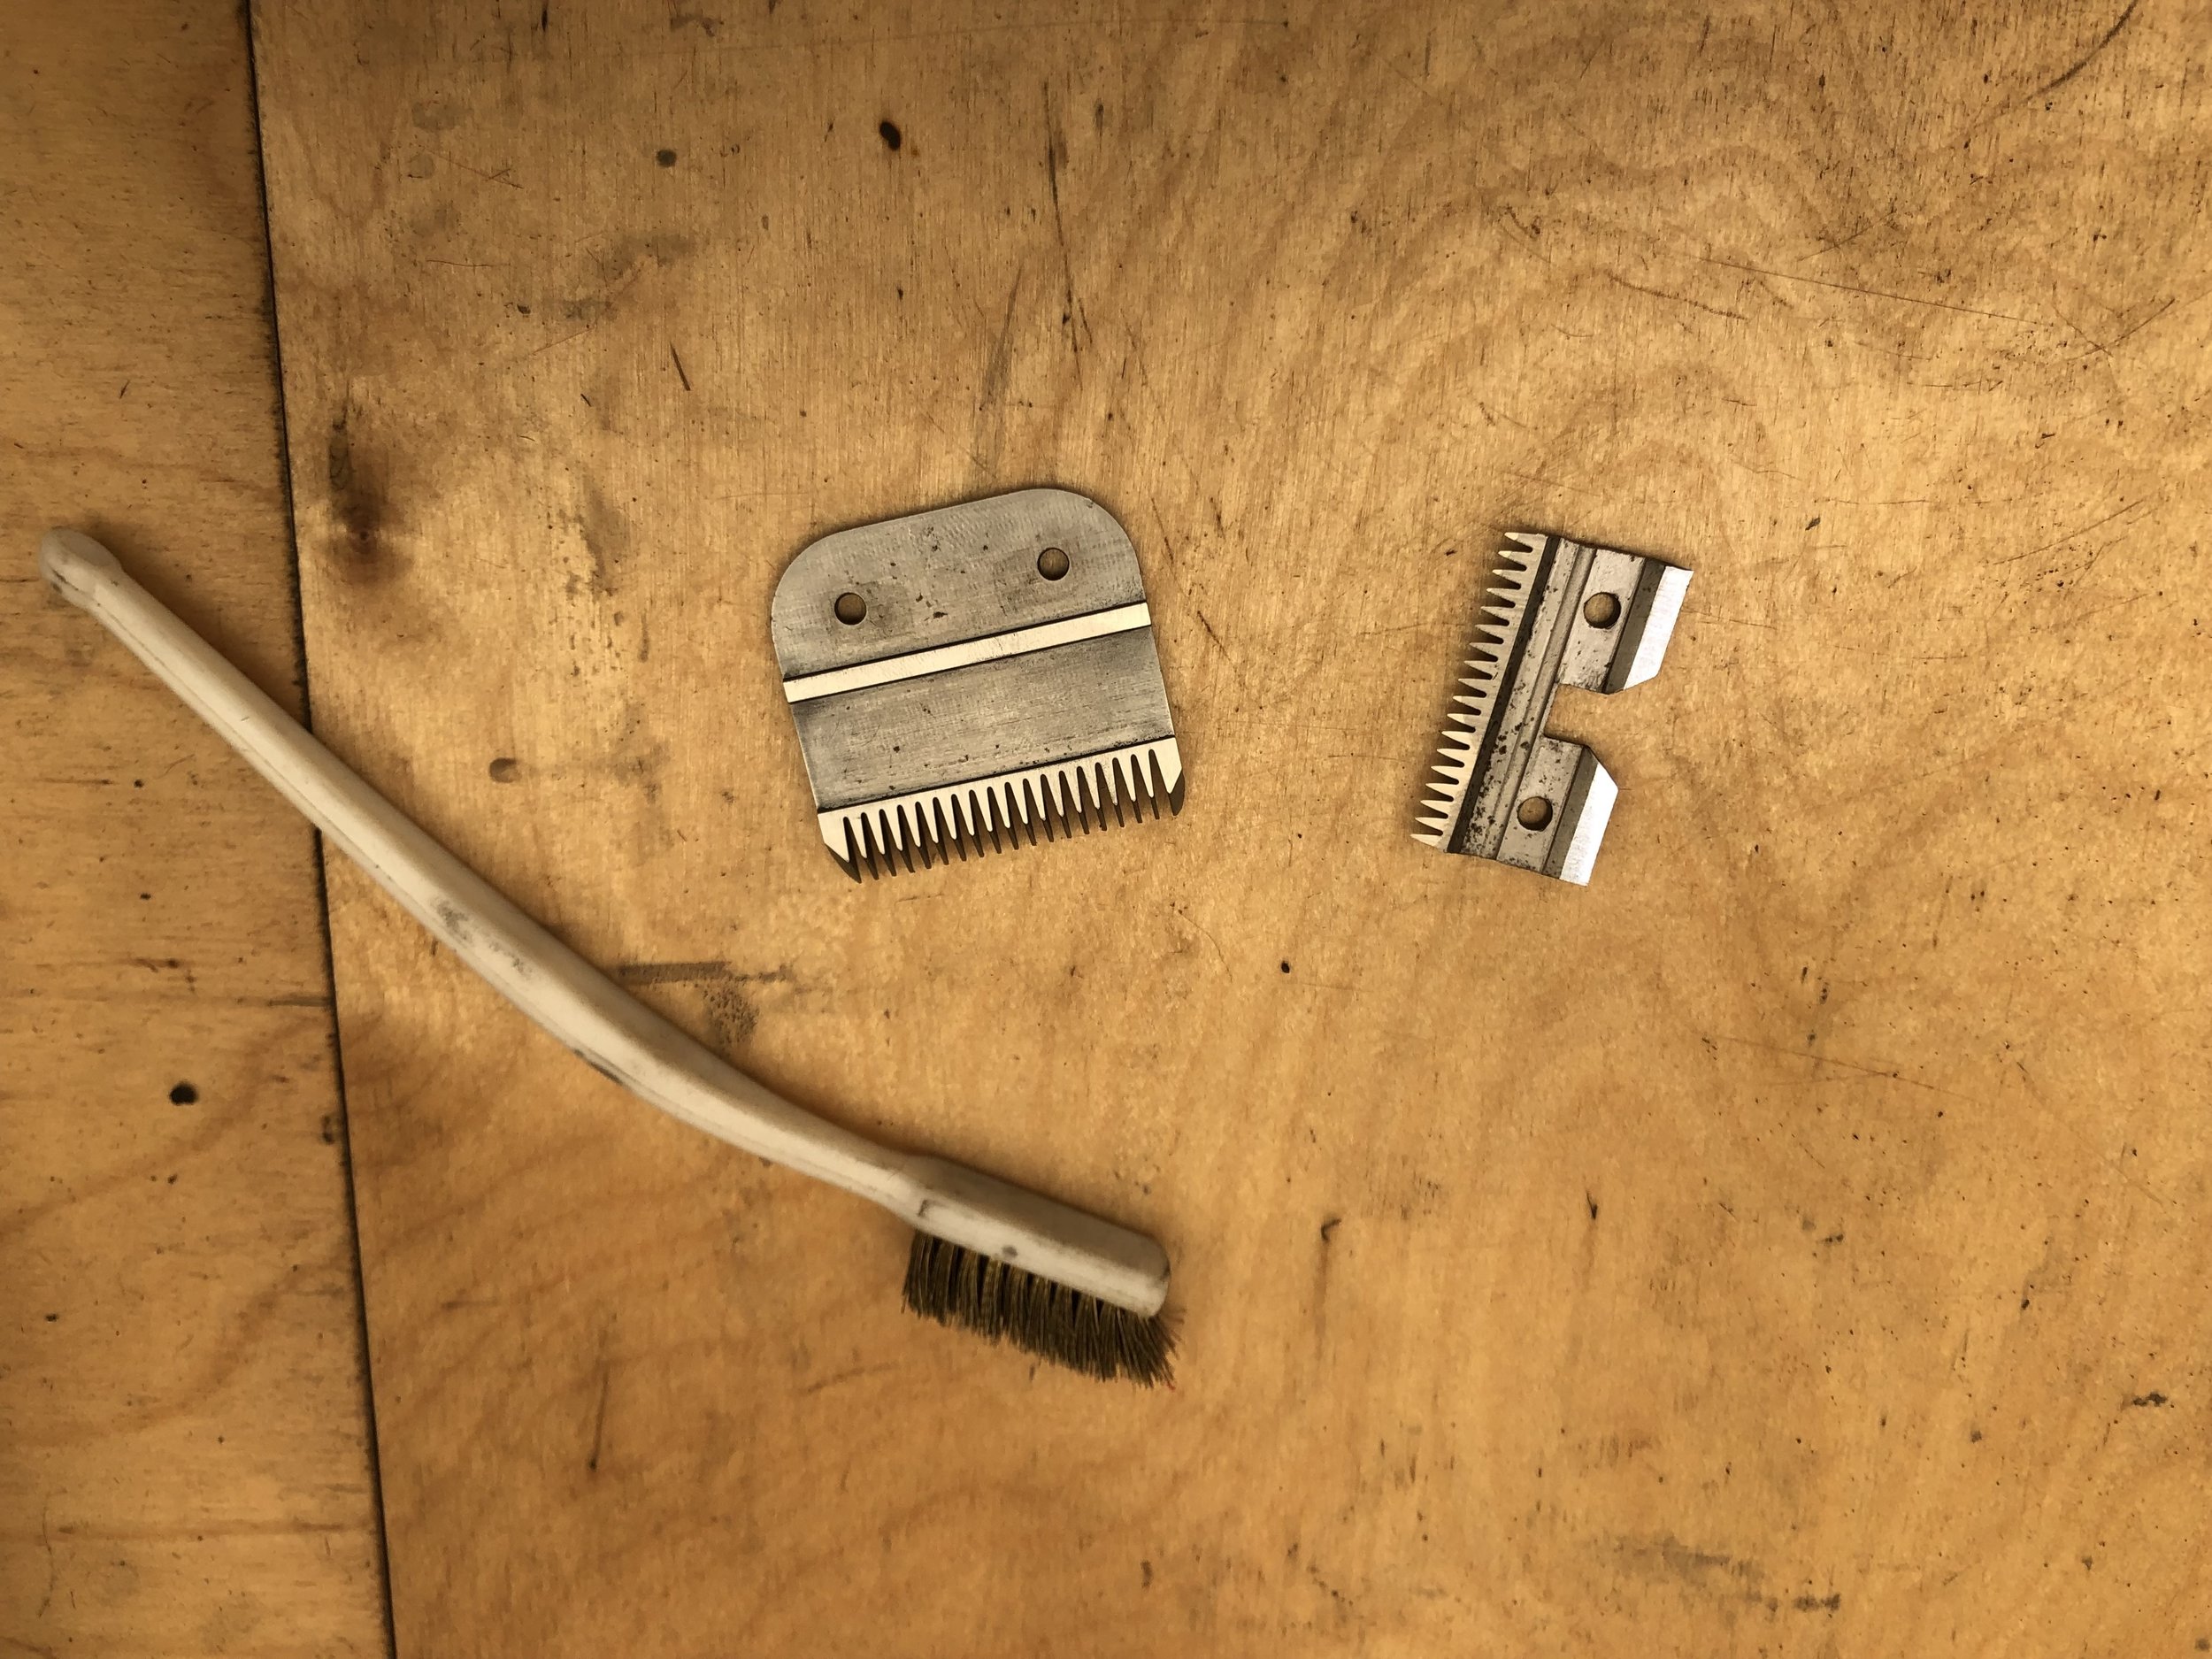
Deburr
A quick clean between the teeth with the brass toothbrush and a good blow with the airline removes the burr from the grinding as well as gets rid of cack between the teeth

Reassembly tools
Gather all the parts together to reassemble the blade.
Including the blade scale which is vital when rebuilding blades
More info HERE
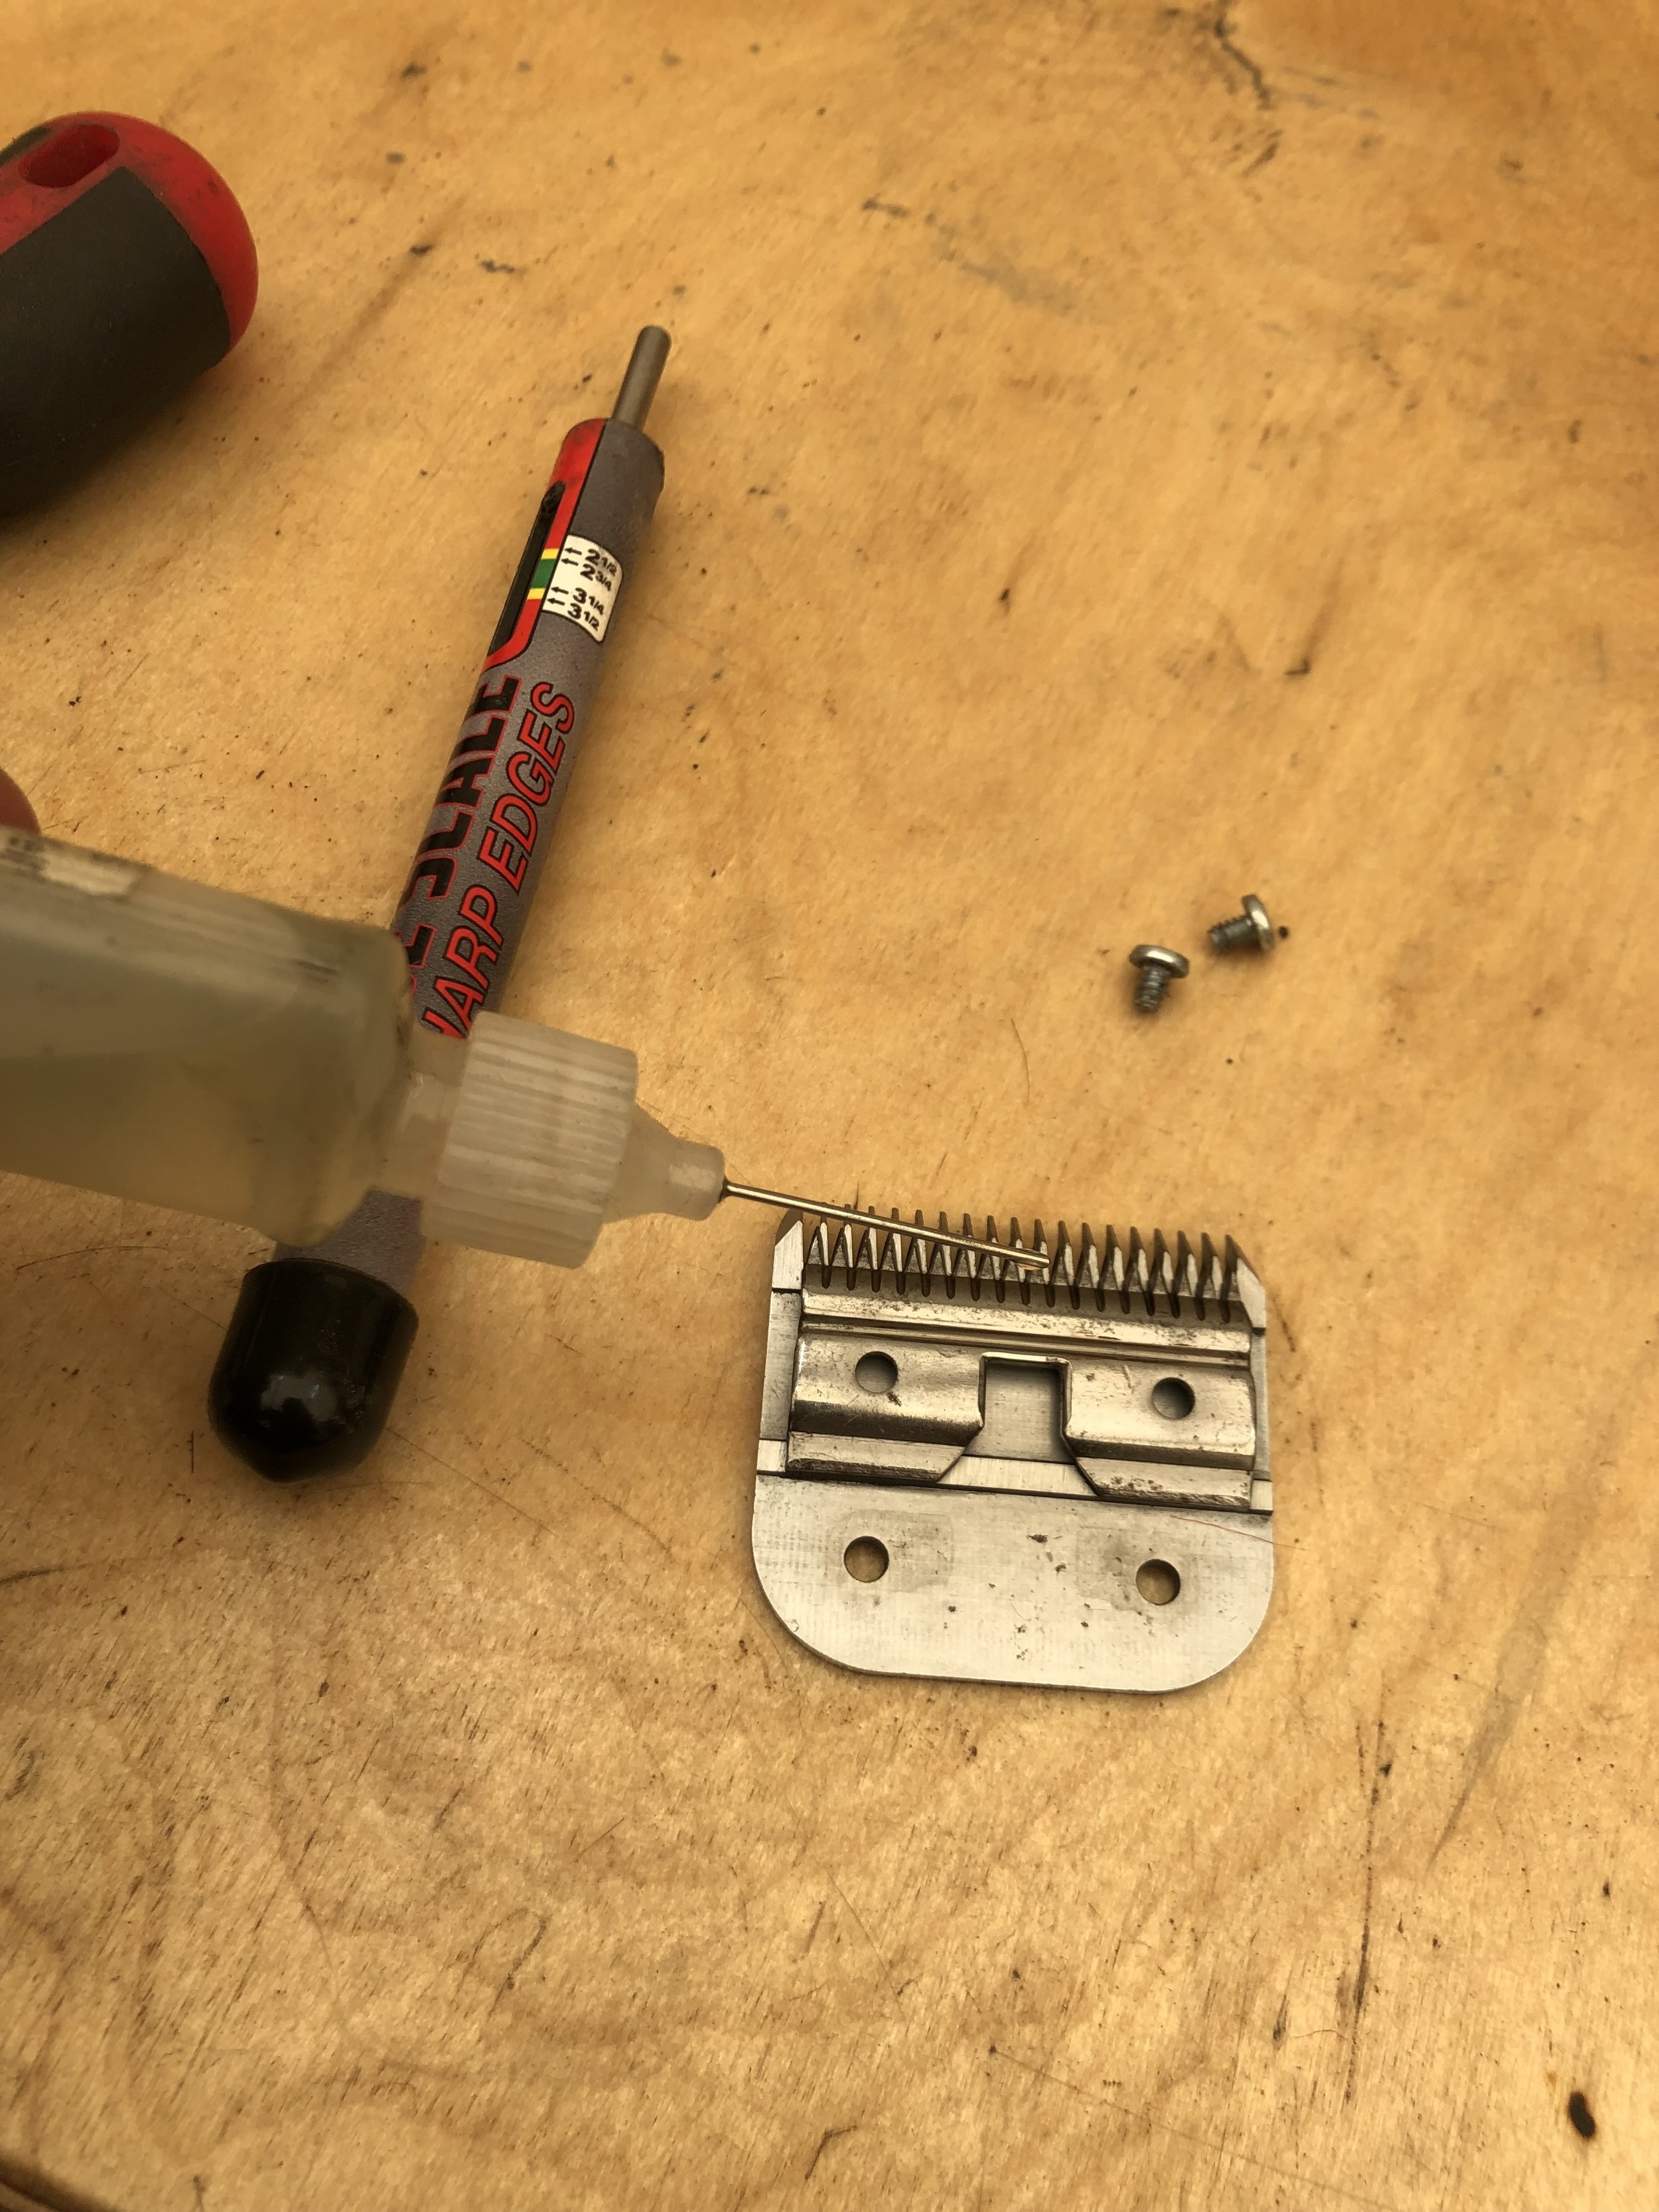
Oil the blades
A good dose of oil in the correct places and then sit the cutter on the comb and a wee shot of oil onto where the glide strip sits
Tensioner and socket
Place the tensioner and socket onto the blade assembly
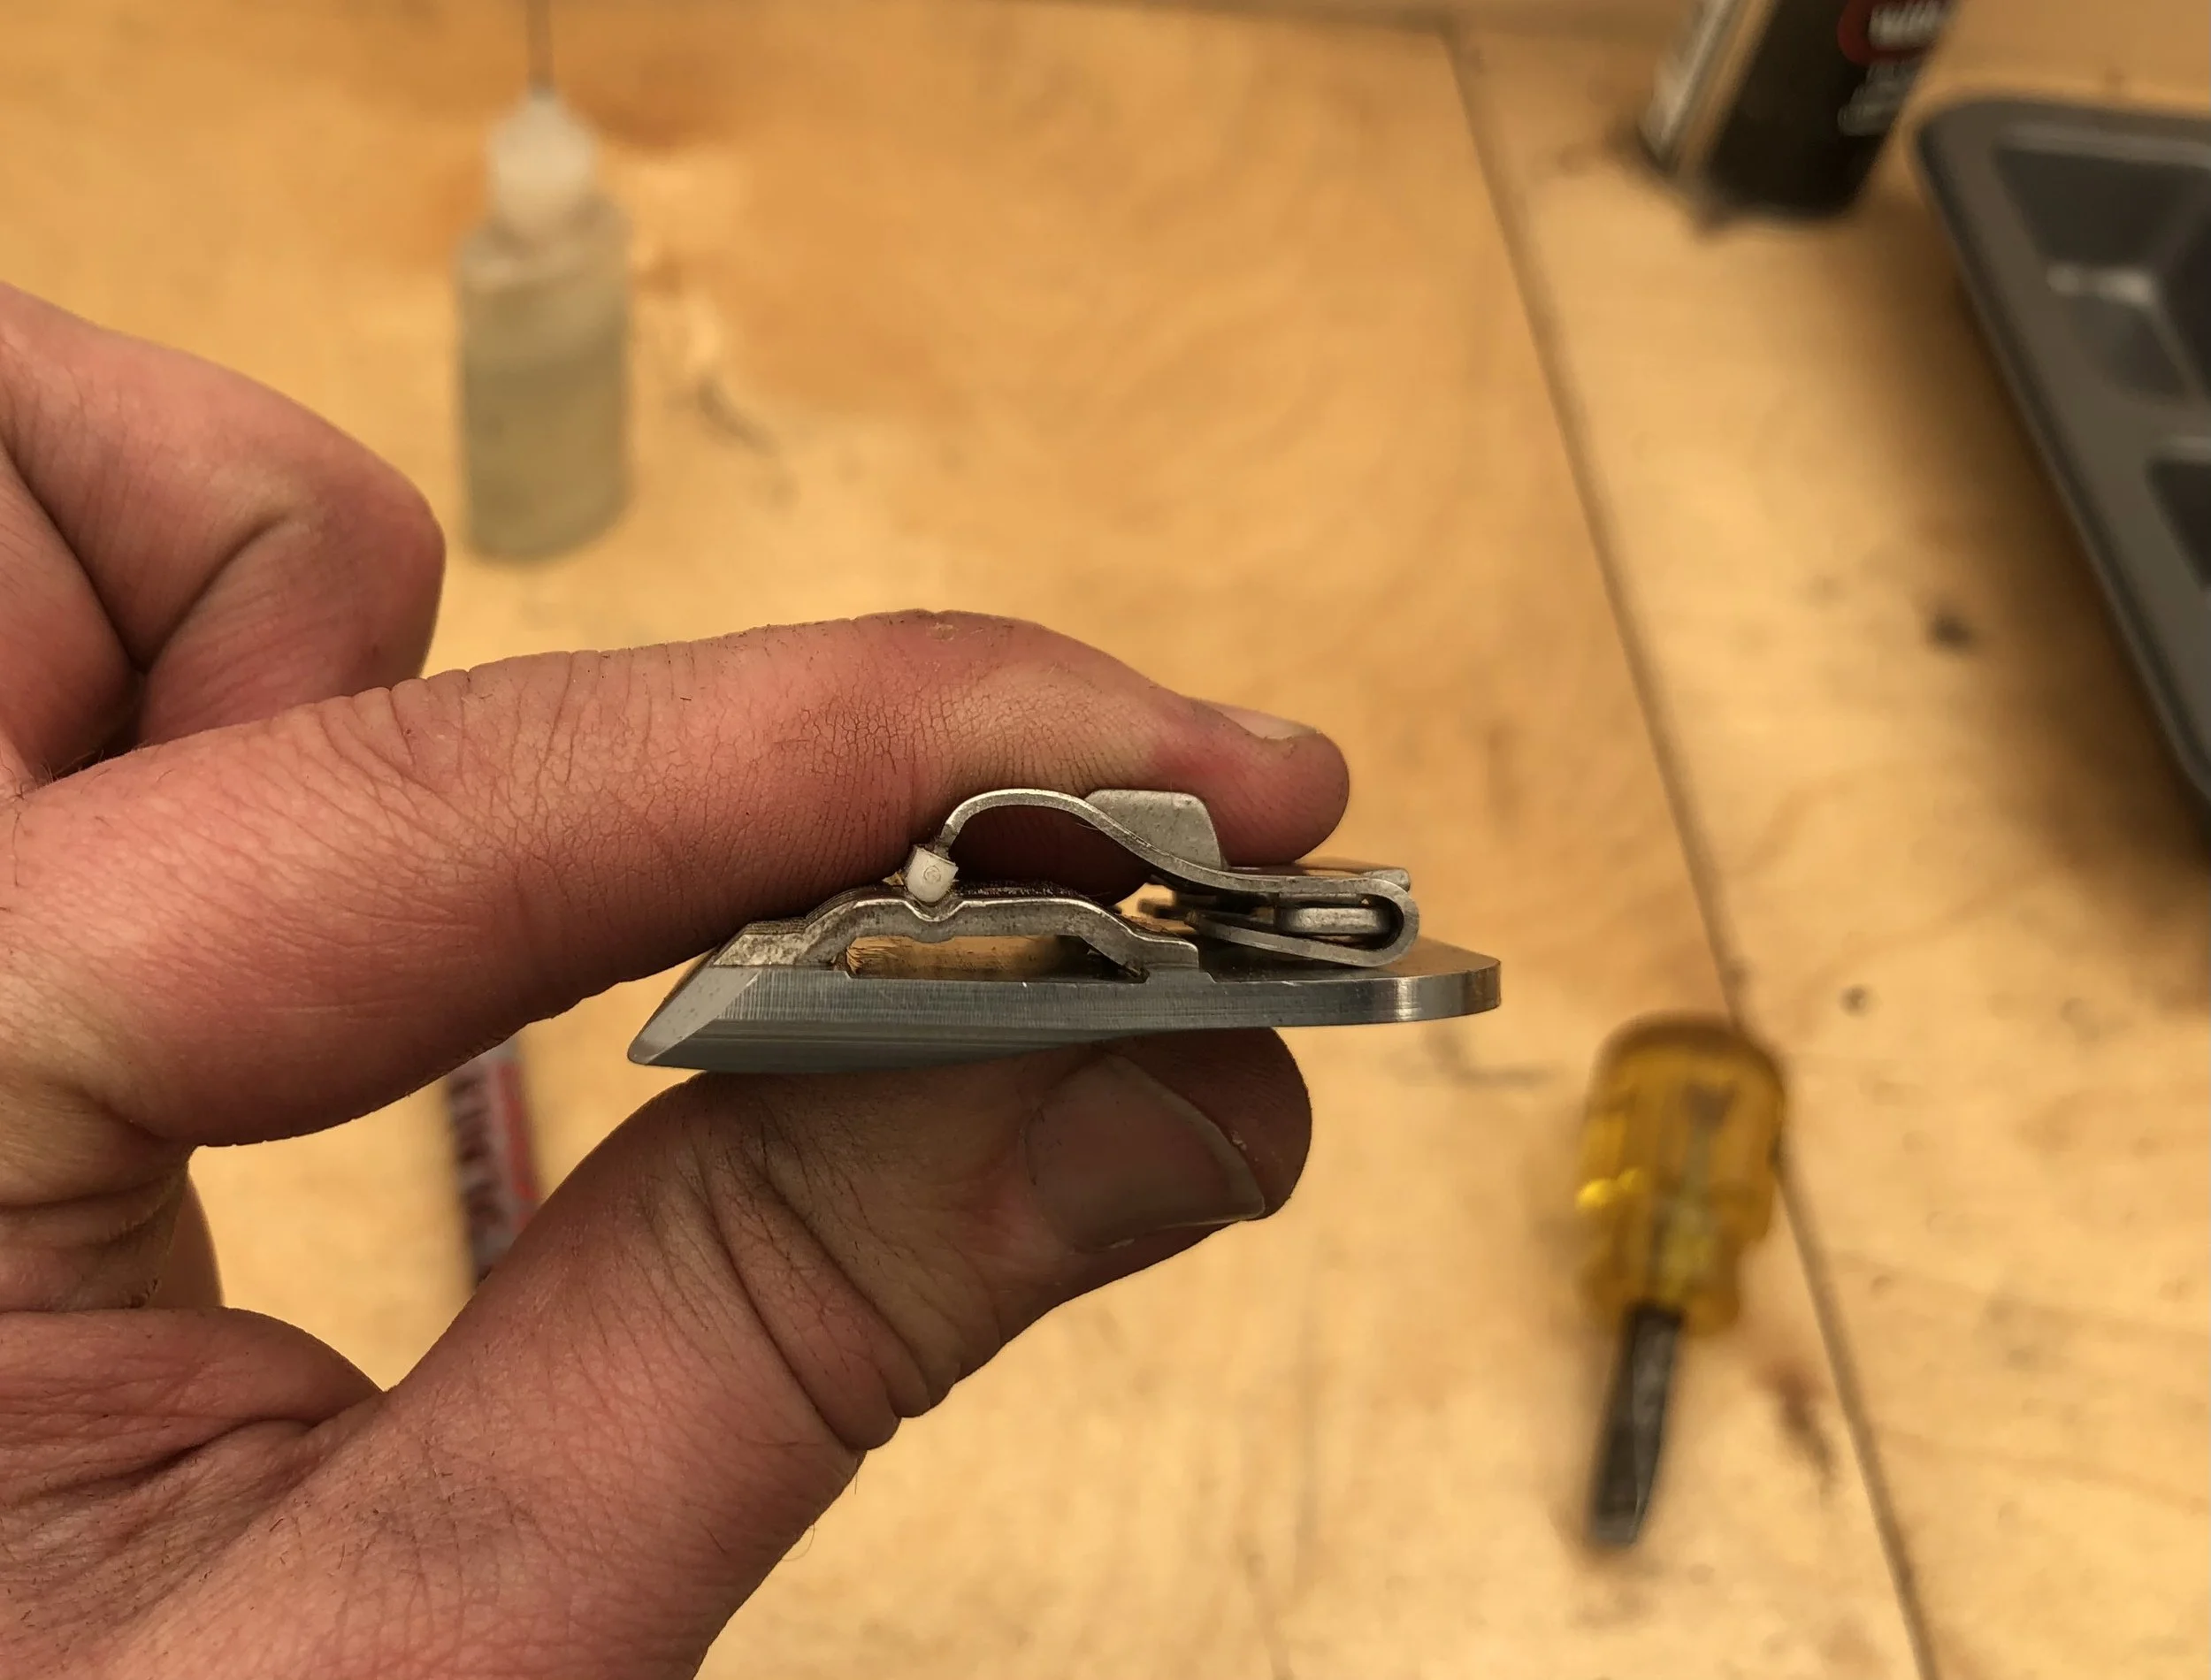
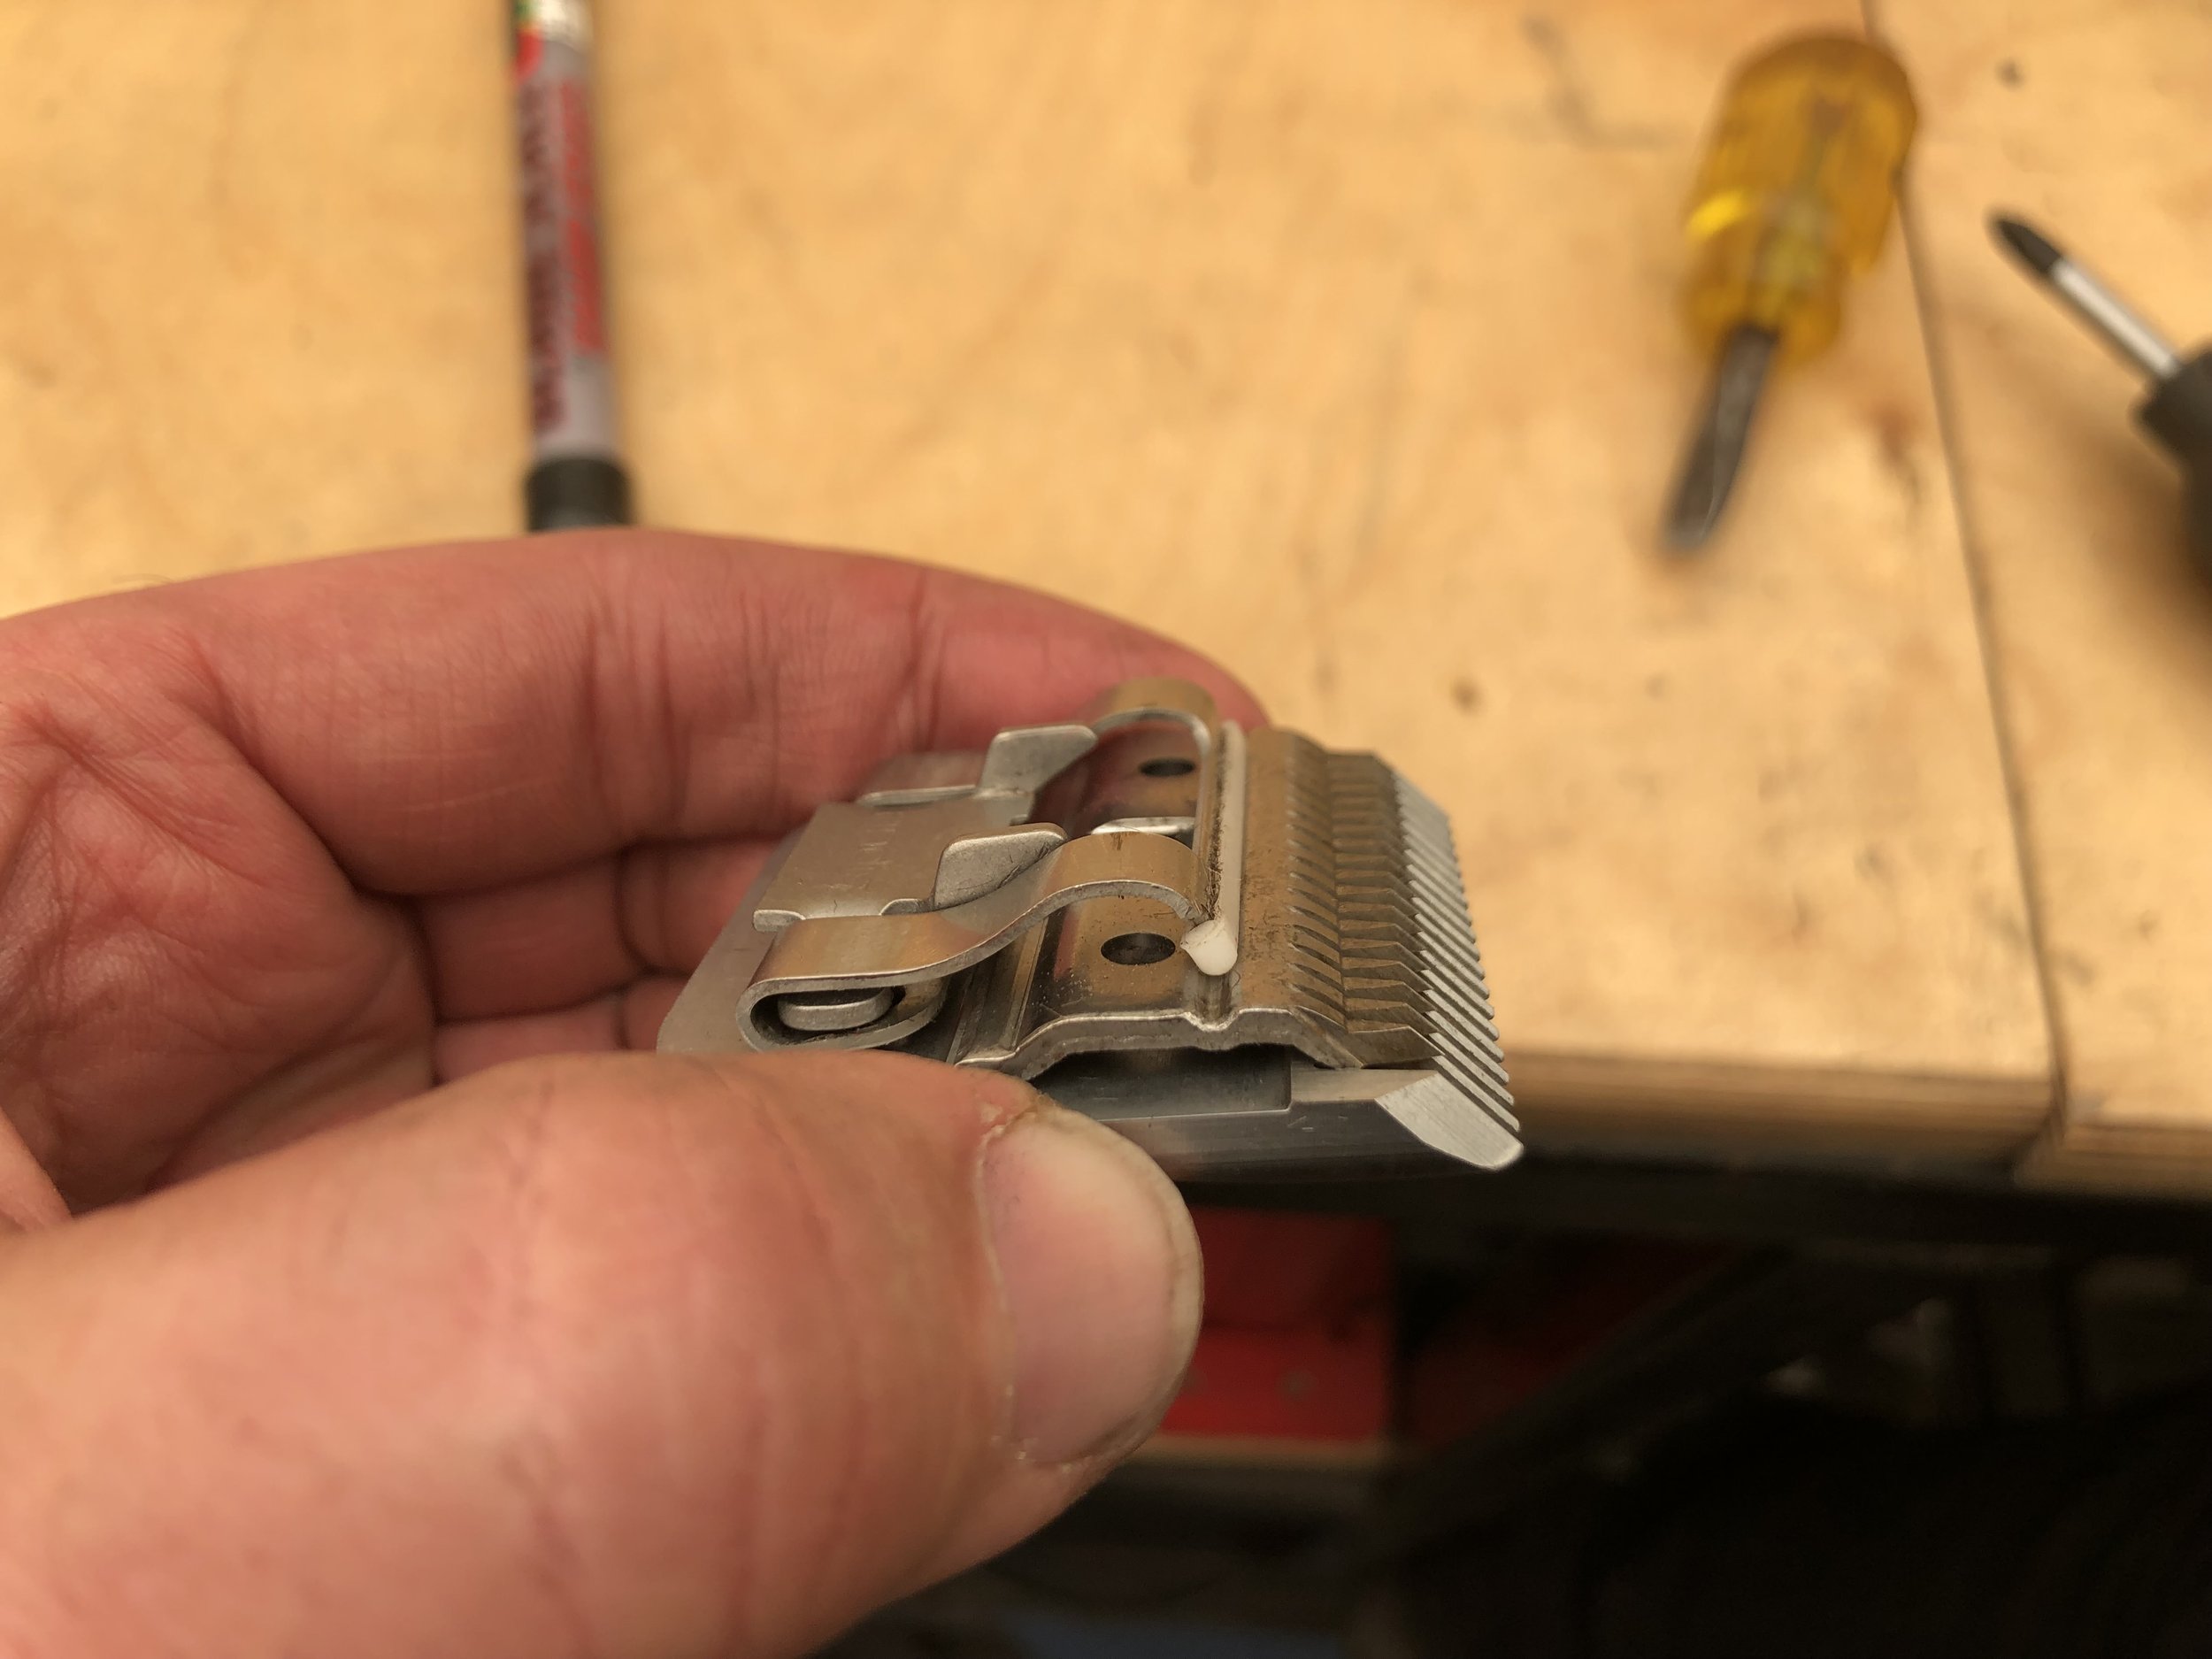
Pick it up
Now carefully pick up the entire stack gripping it in the way shown.
You can also see how the tension spring is sitting up as there is no tension on it.

Line it all up
With much fiddling and practise along all the parts so the holes line up and you can put the screws in.

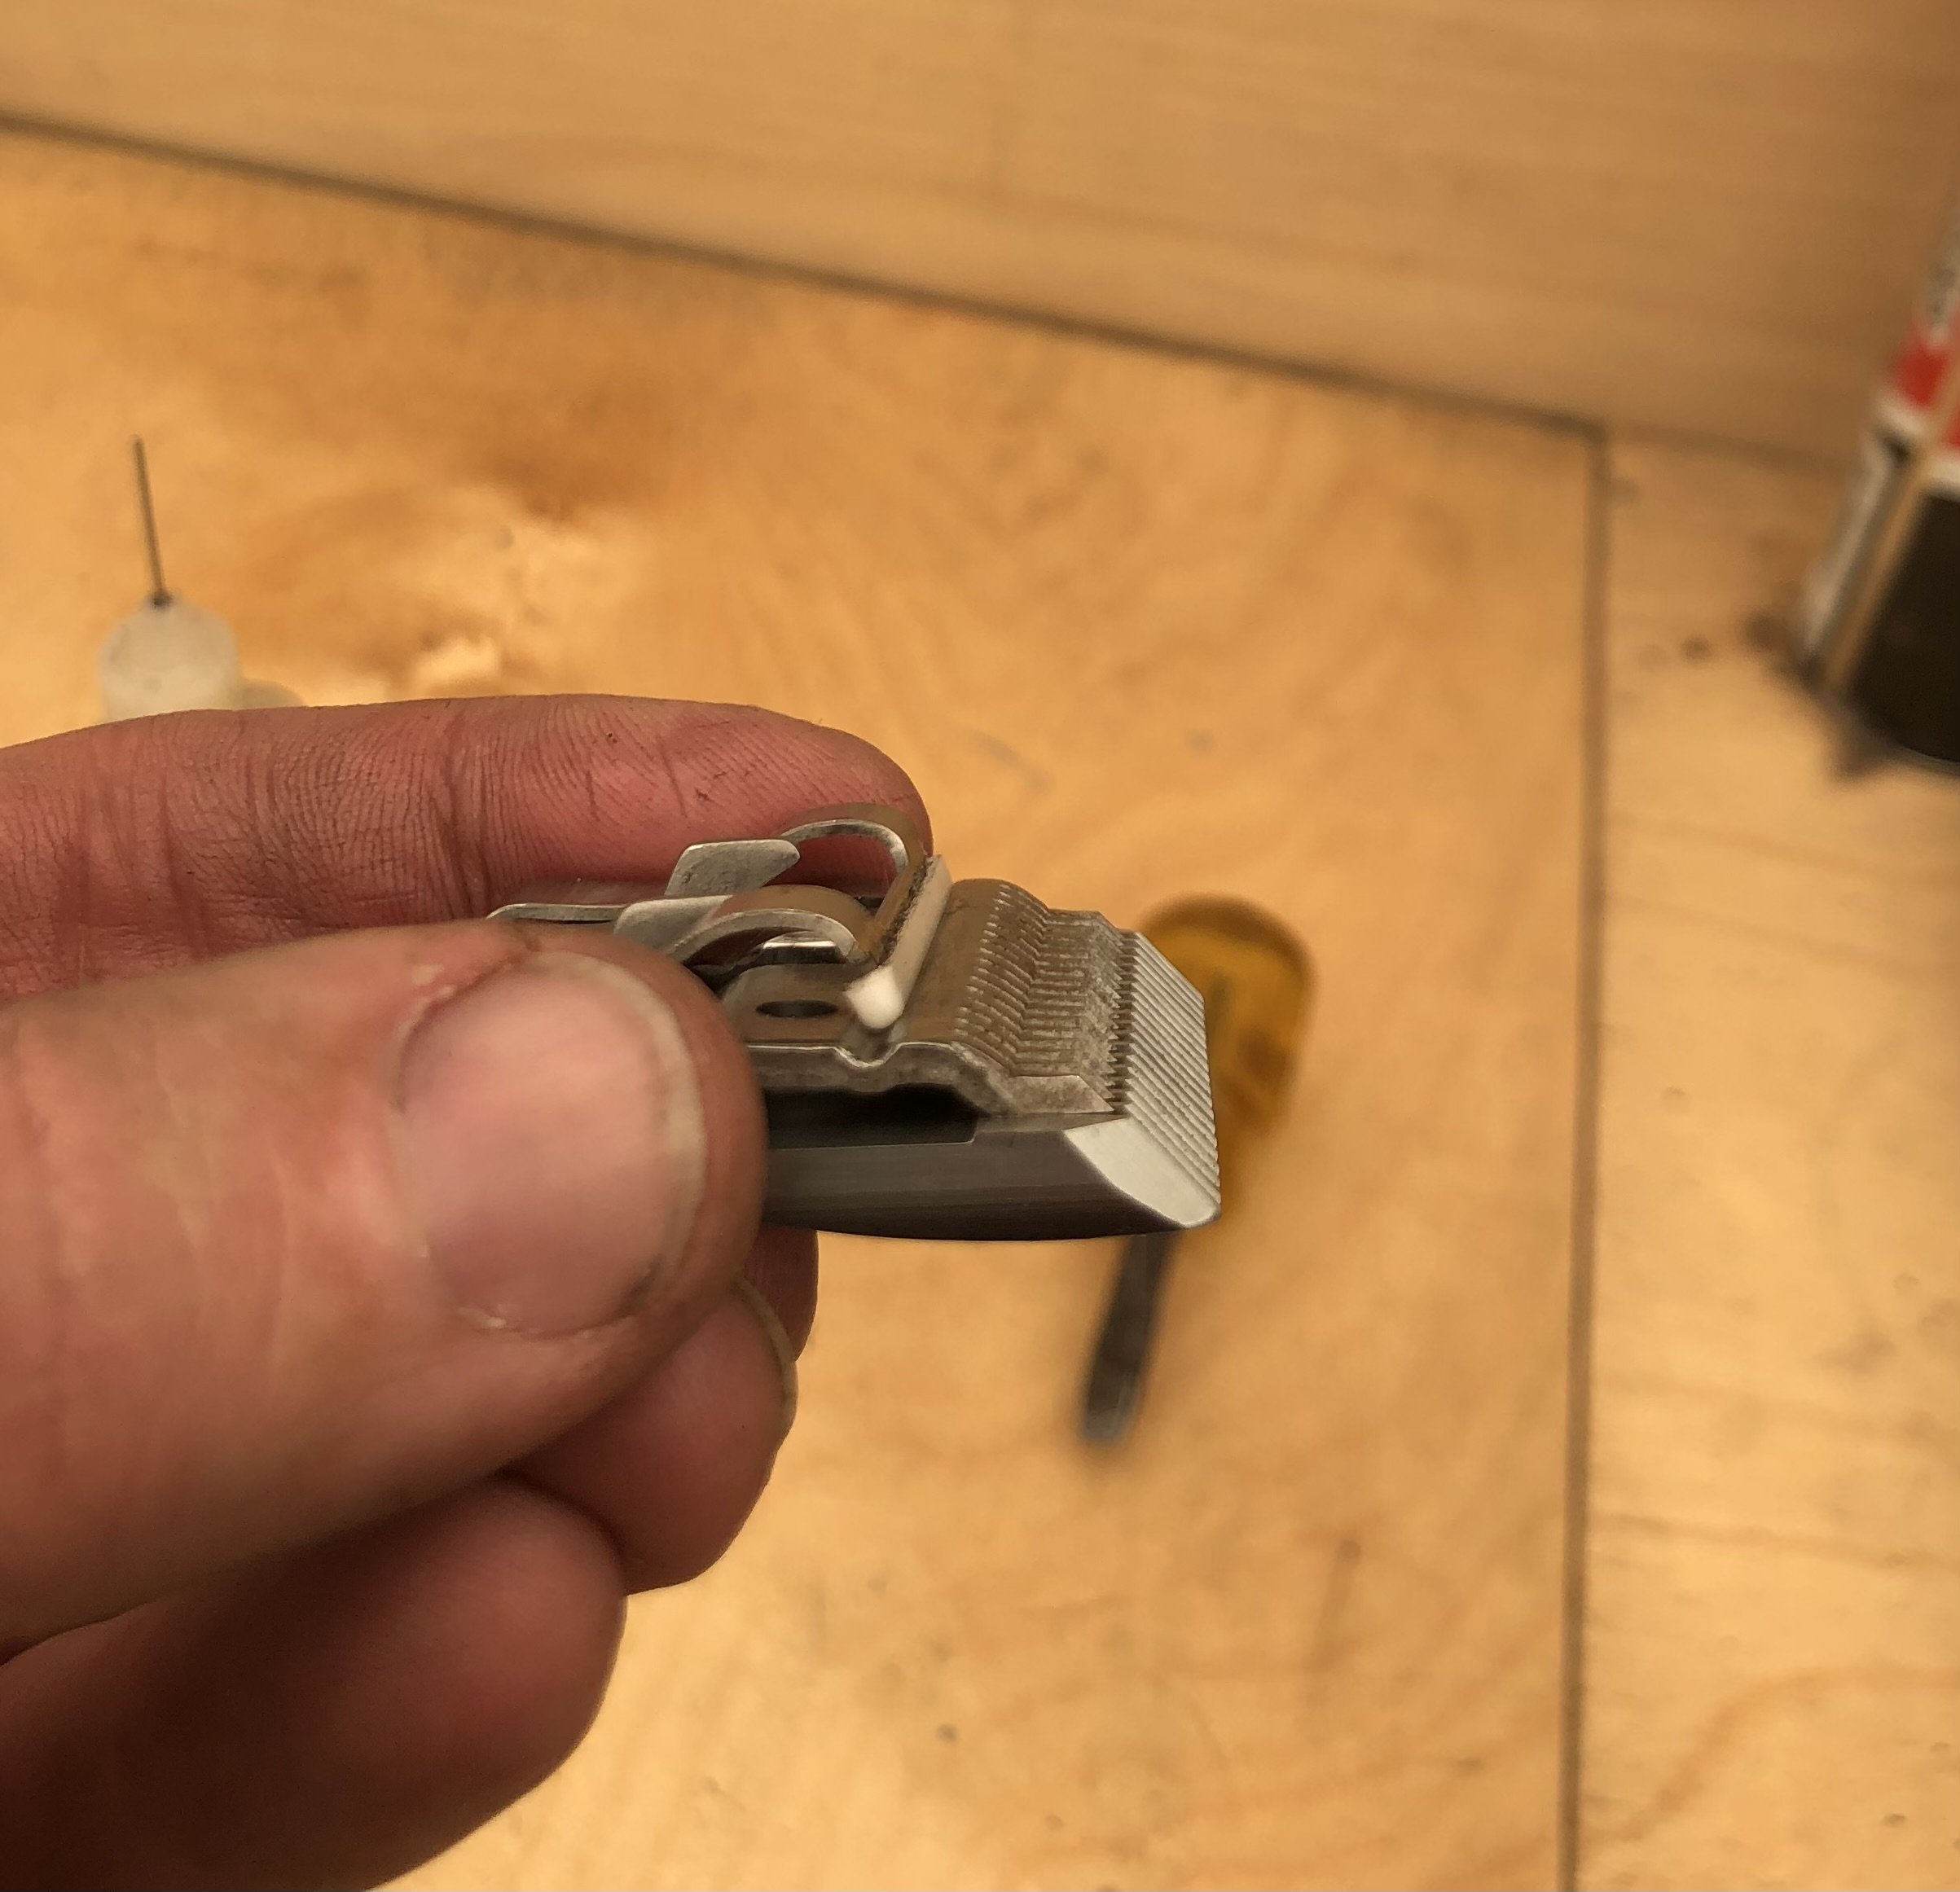
Cutter set back
The cutter needs to be set up with the correct set back from the teeth on the comb
This is way too far back
Cutter setback
This is far too far forward. If it was a short cut blade then this would be really bad as the moving teeth could contact the dog’s skin.
Correct set back
This is about how much set back you want
Do remember the cutter moves forward when you tighten down the tension spring.

Measure the blade tension
Oh look this blade has too much tension as it should be near the top of the green.
Which is exactly as planned as I increased the tension right at the beginning.

Remove the tension
Using a flat blade screwdriver you can remove some tension.
This is massively easier than trying to add tension to a fully built blade

Perfect tension
This is where you want the tension to be
I cheated for this picture as it’s a moving tension which is a bit too difficult to picture.

Final test
The blade is fitted to a clipper and is tested with some fake fur.
if it passes then it is packaged up ready for the customer